Auto CPAP Machines (APAP machines)
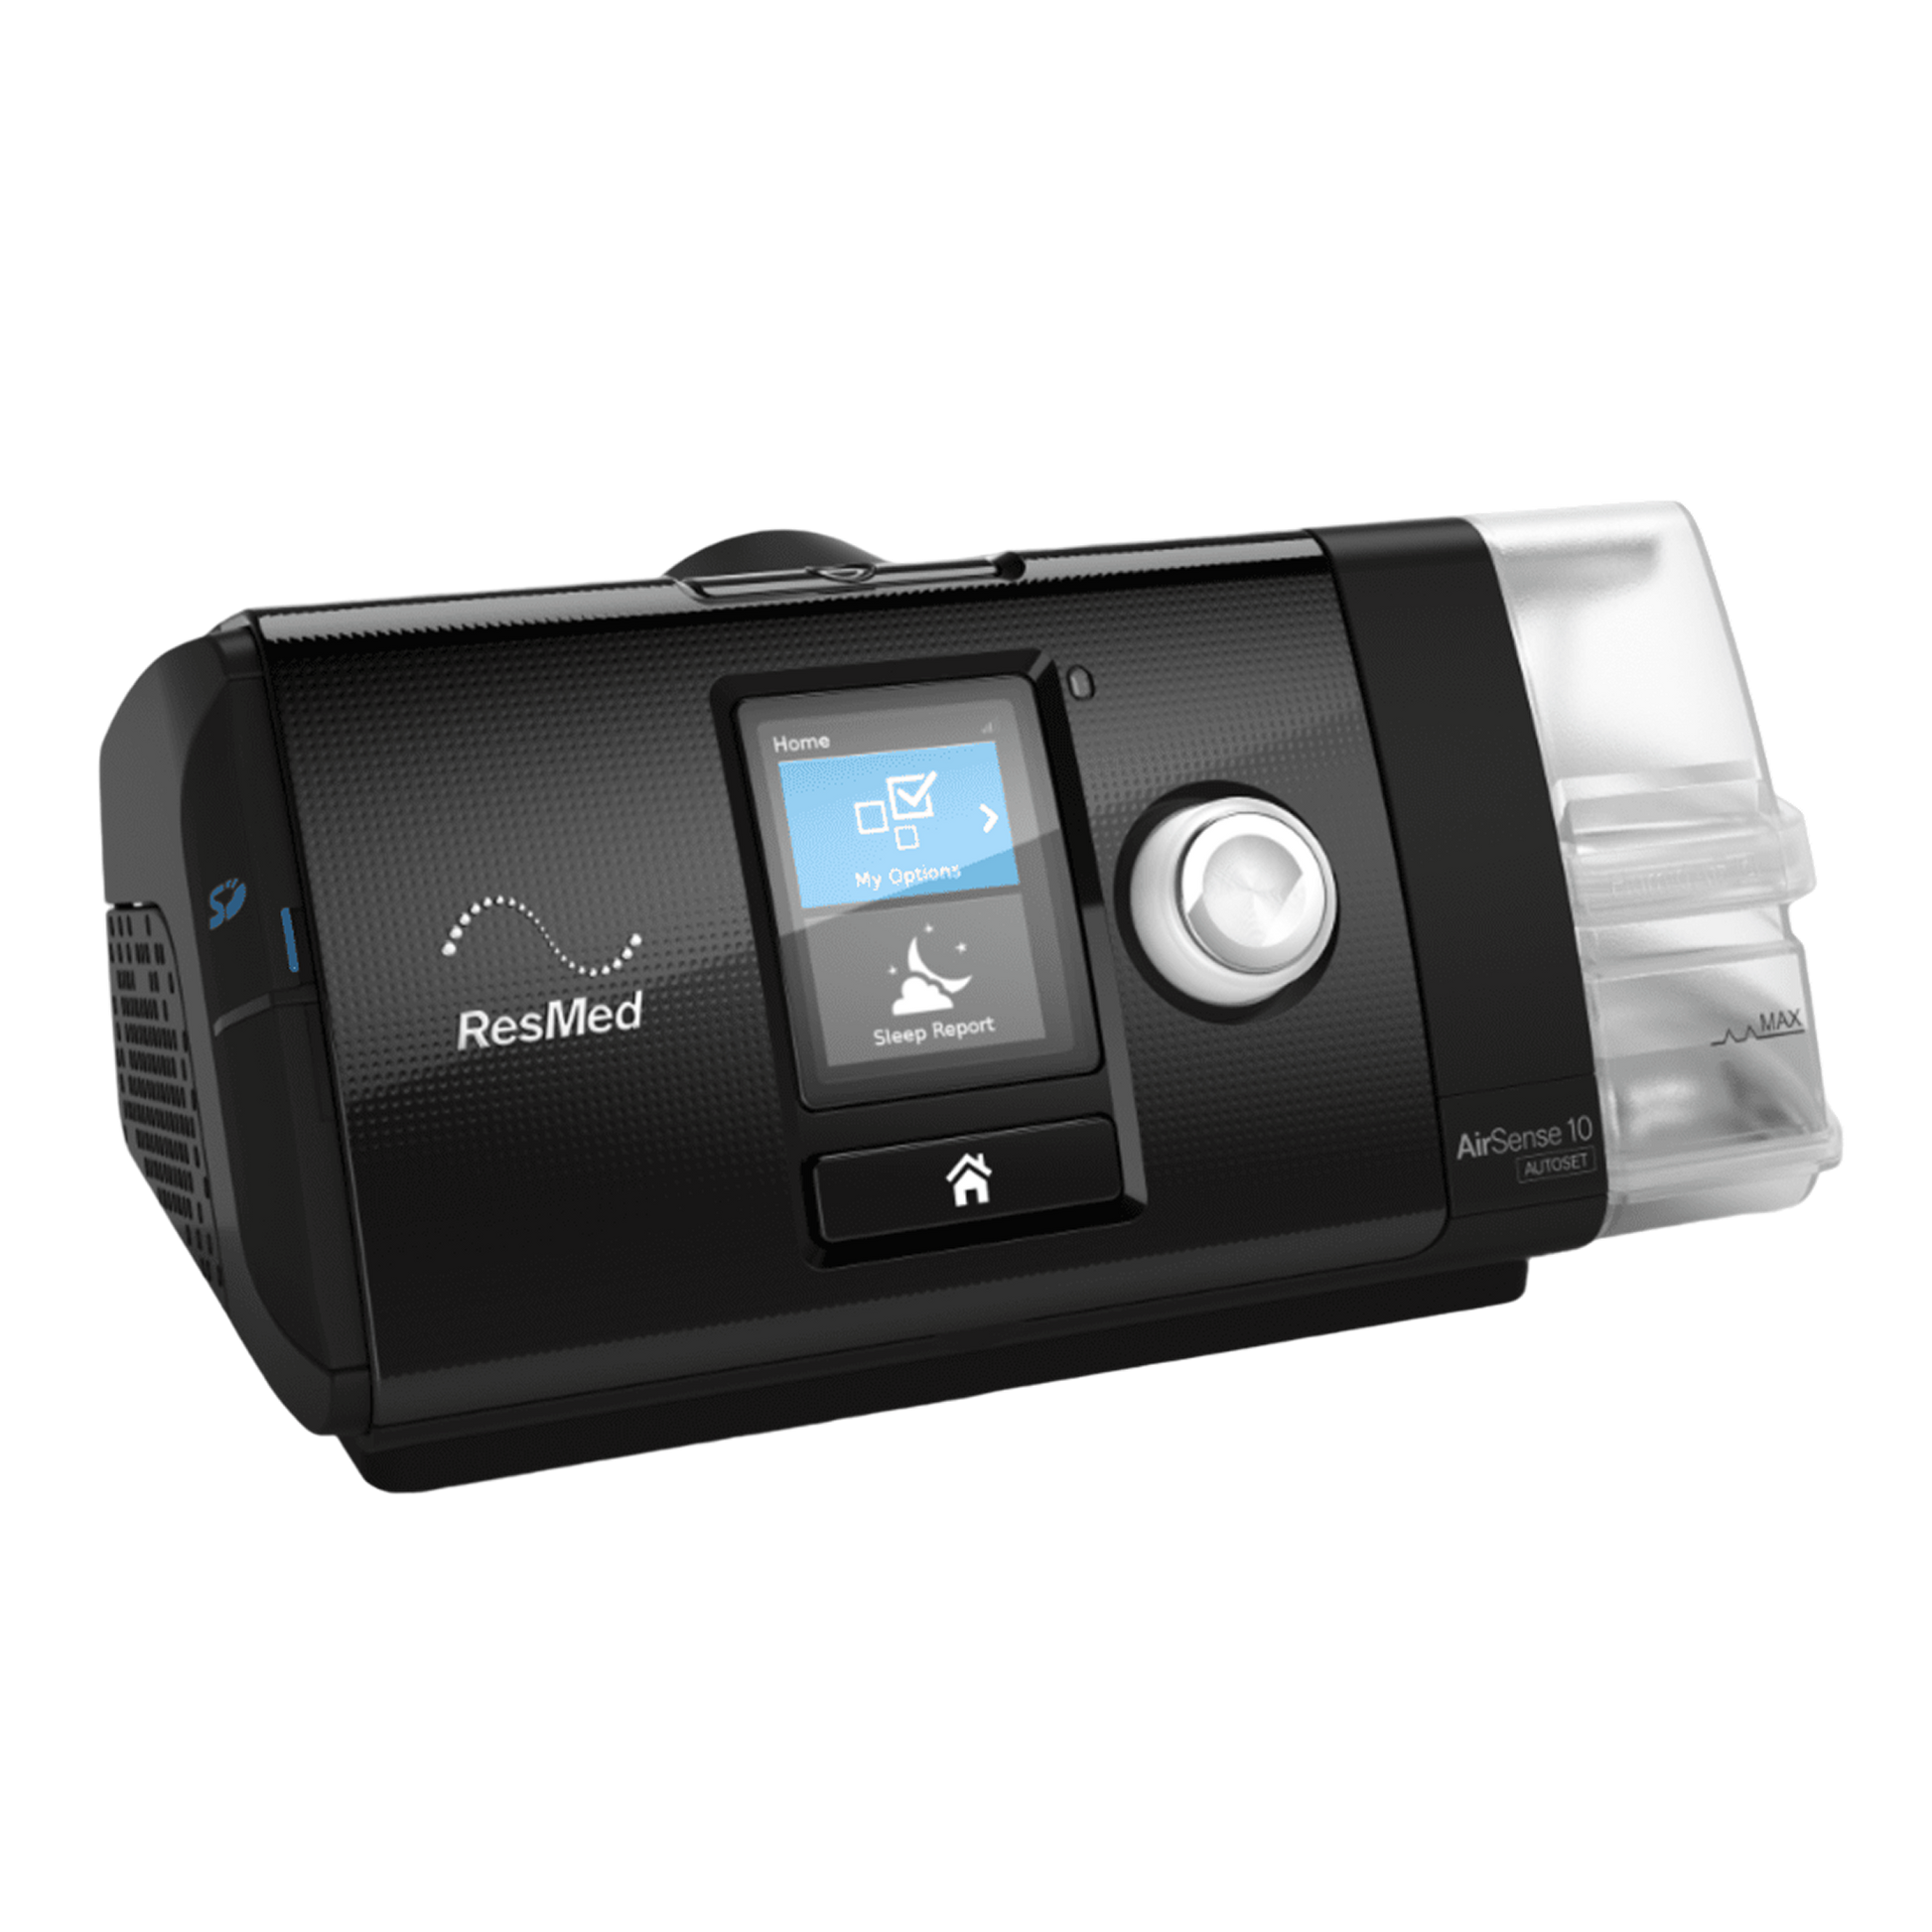
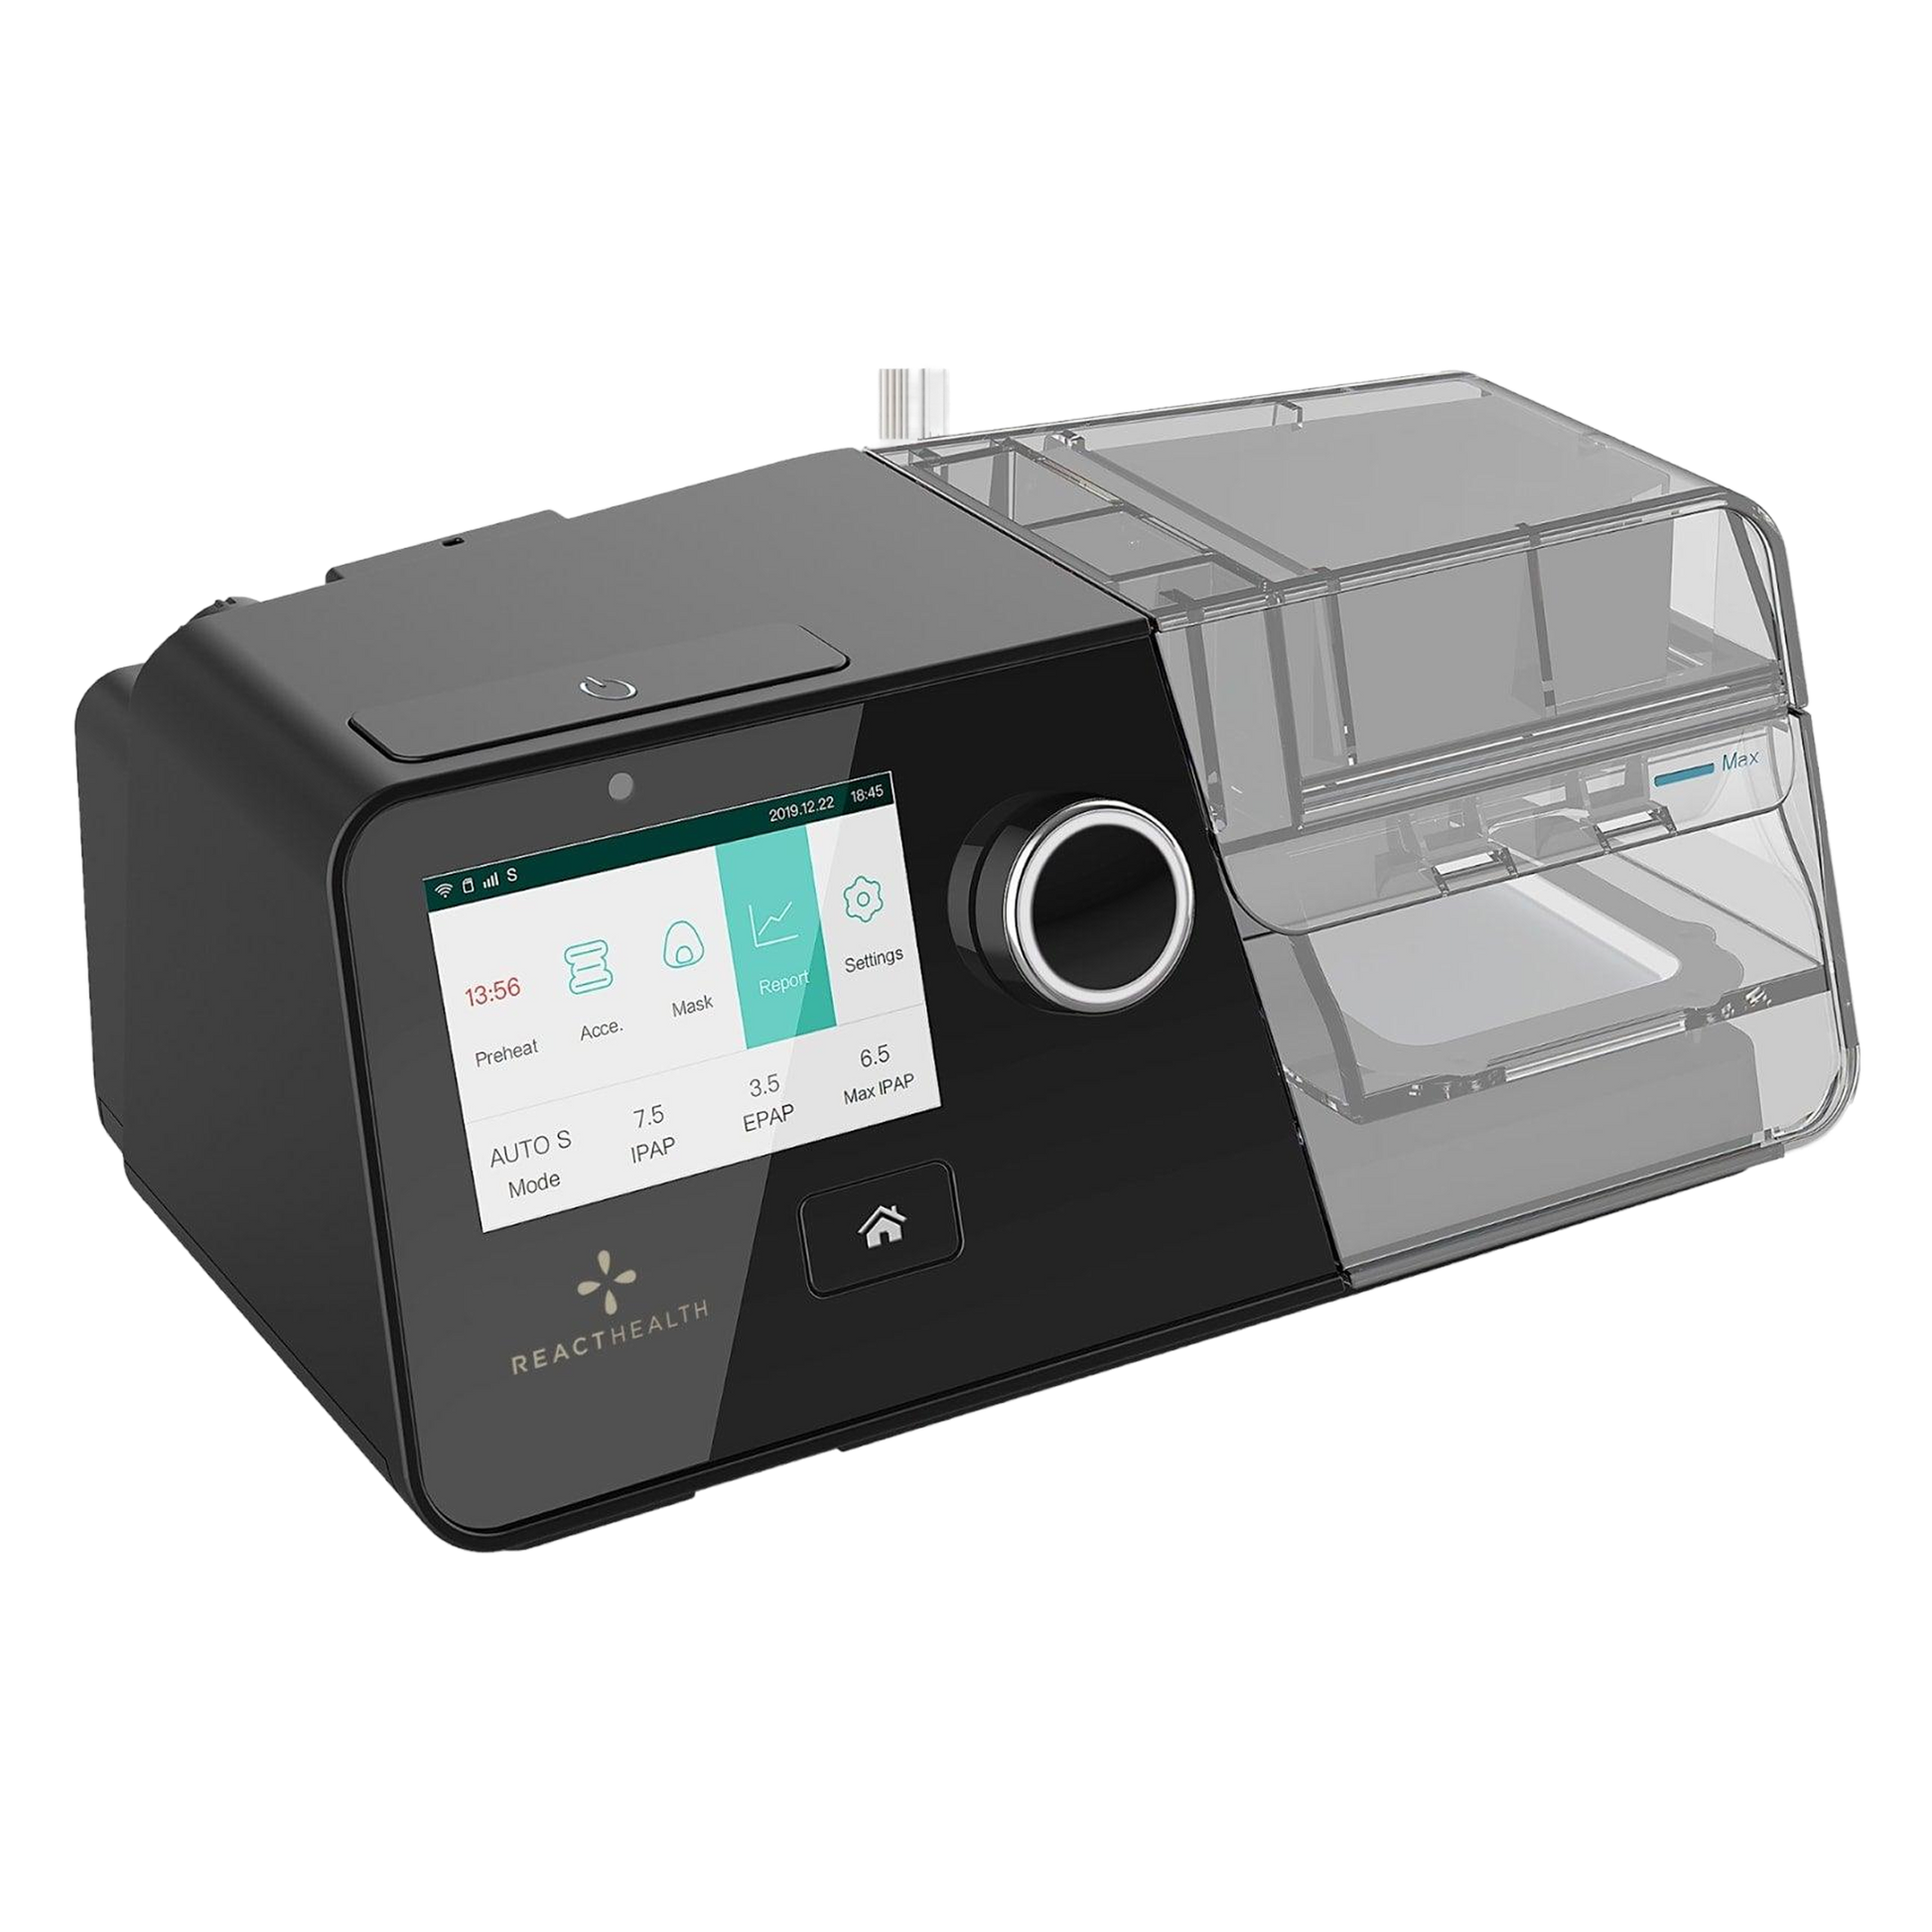
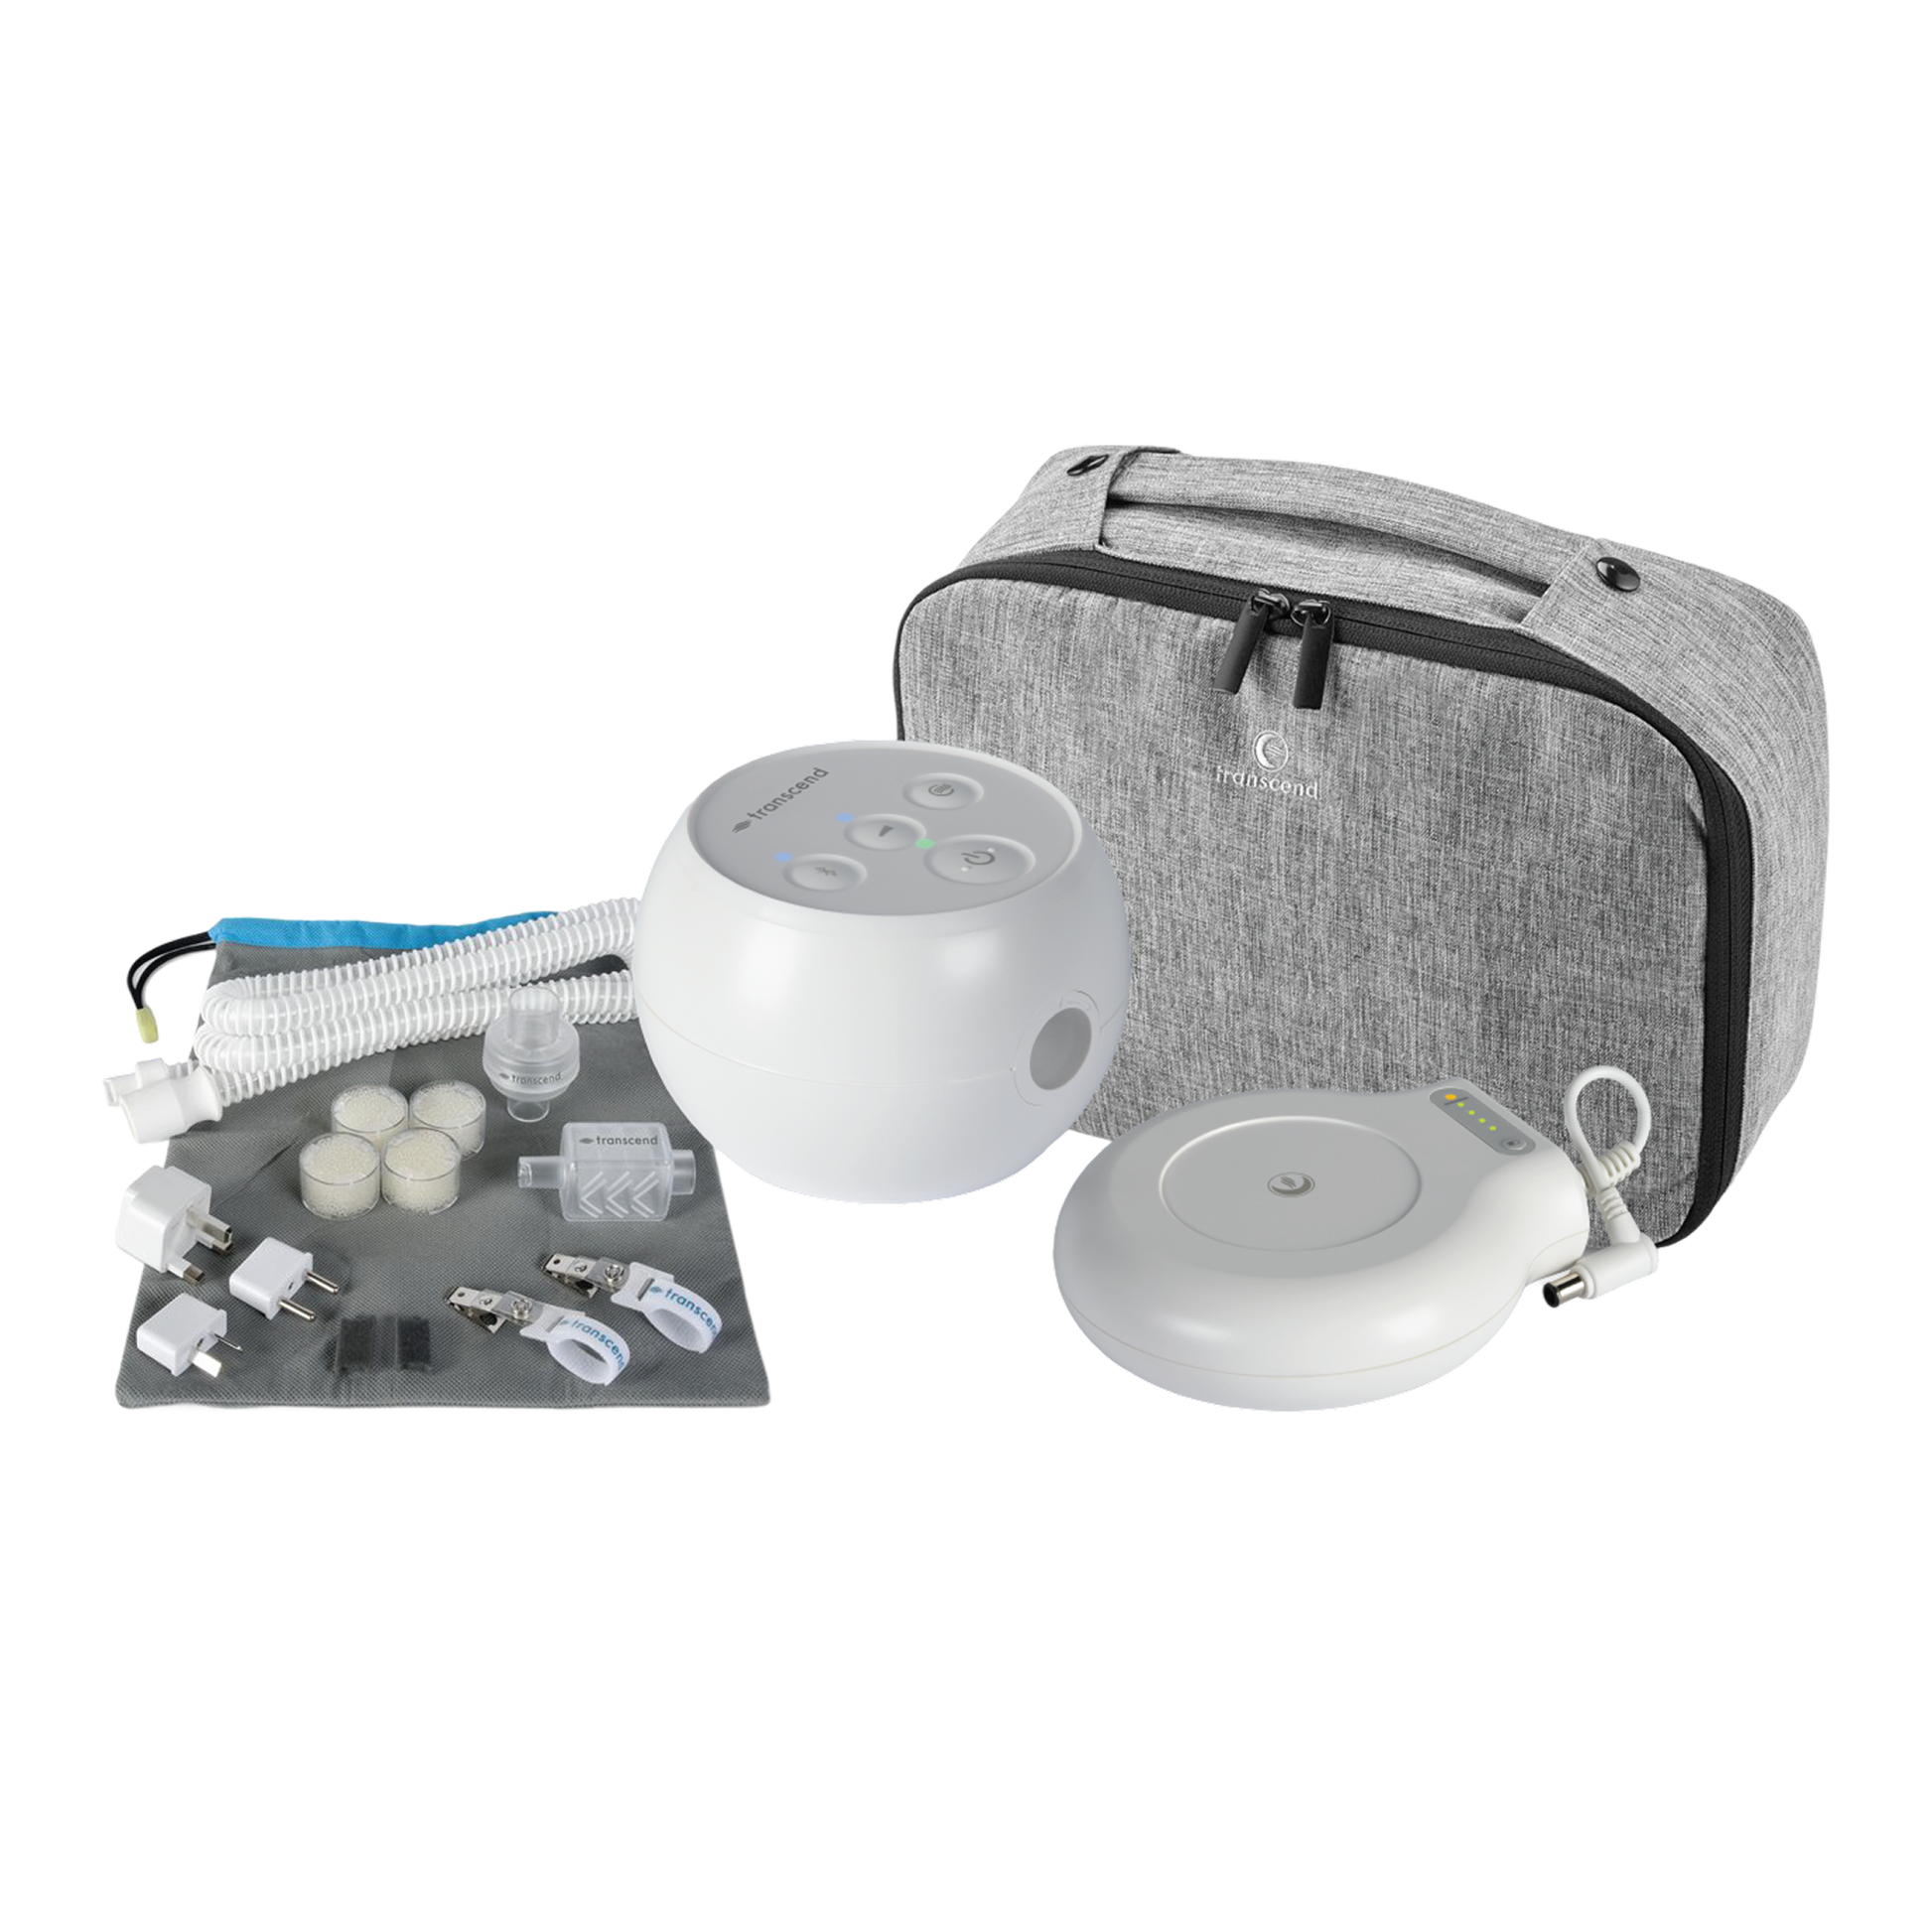
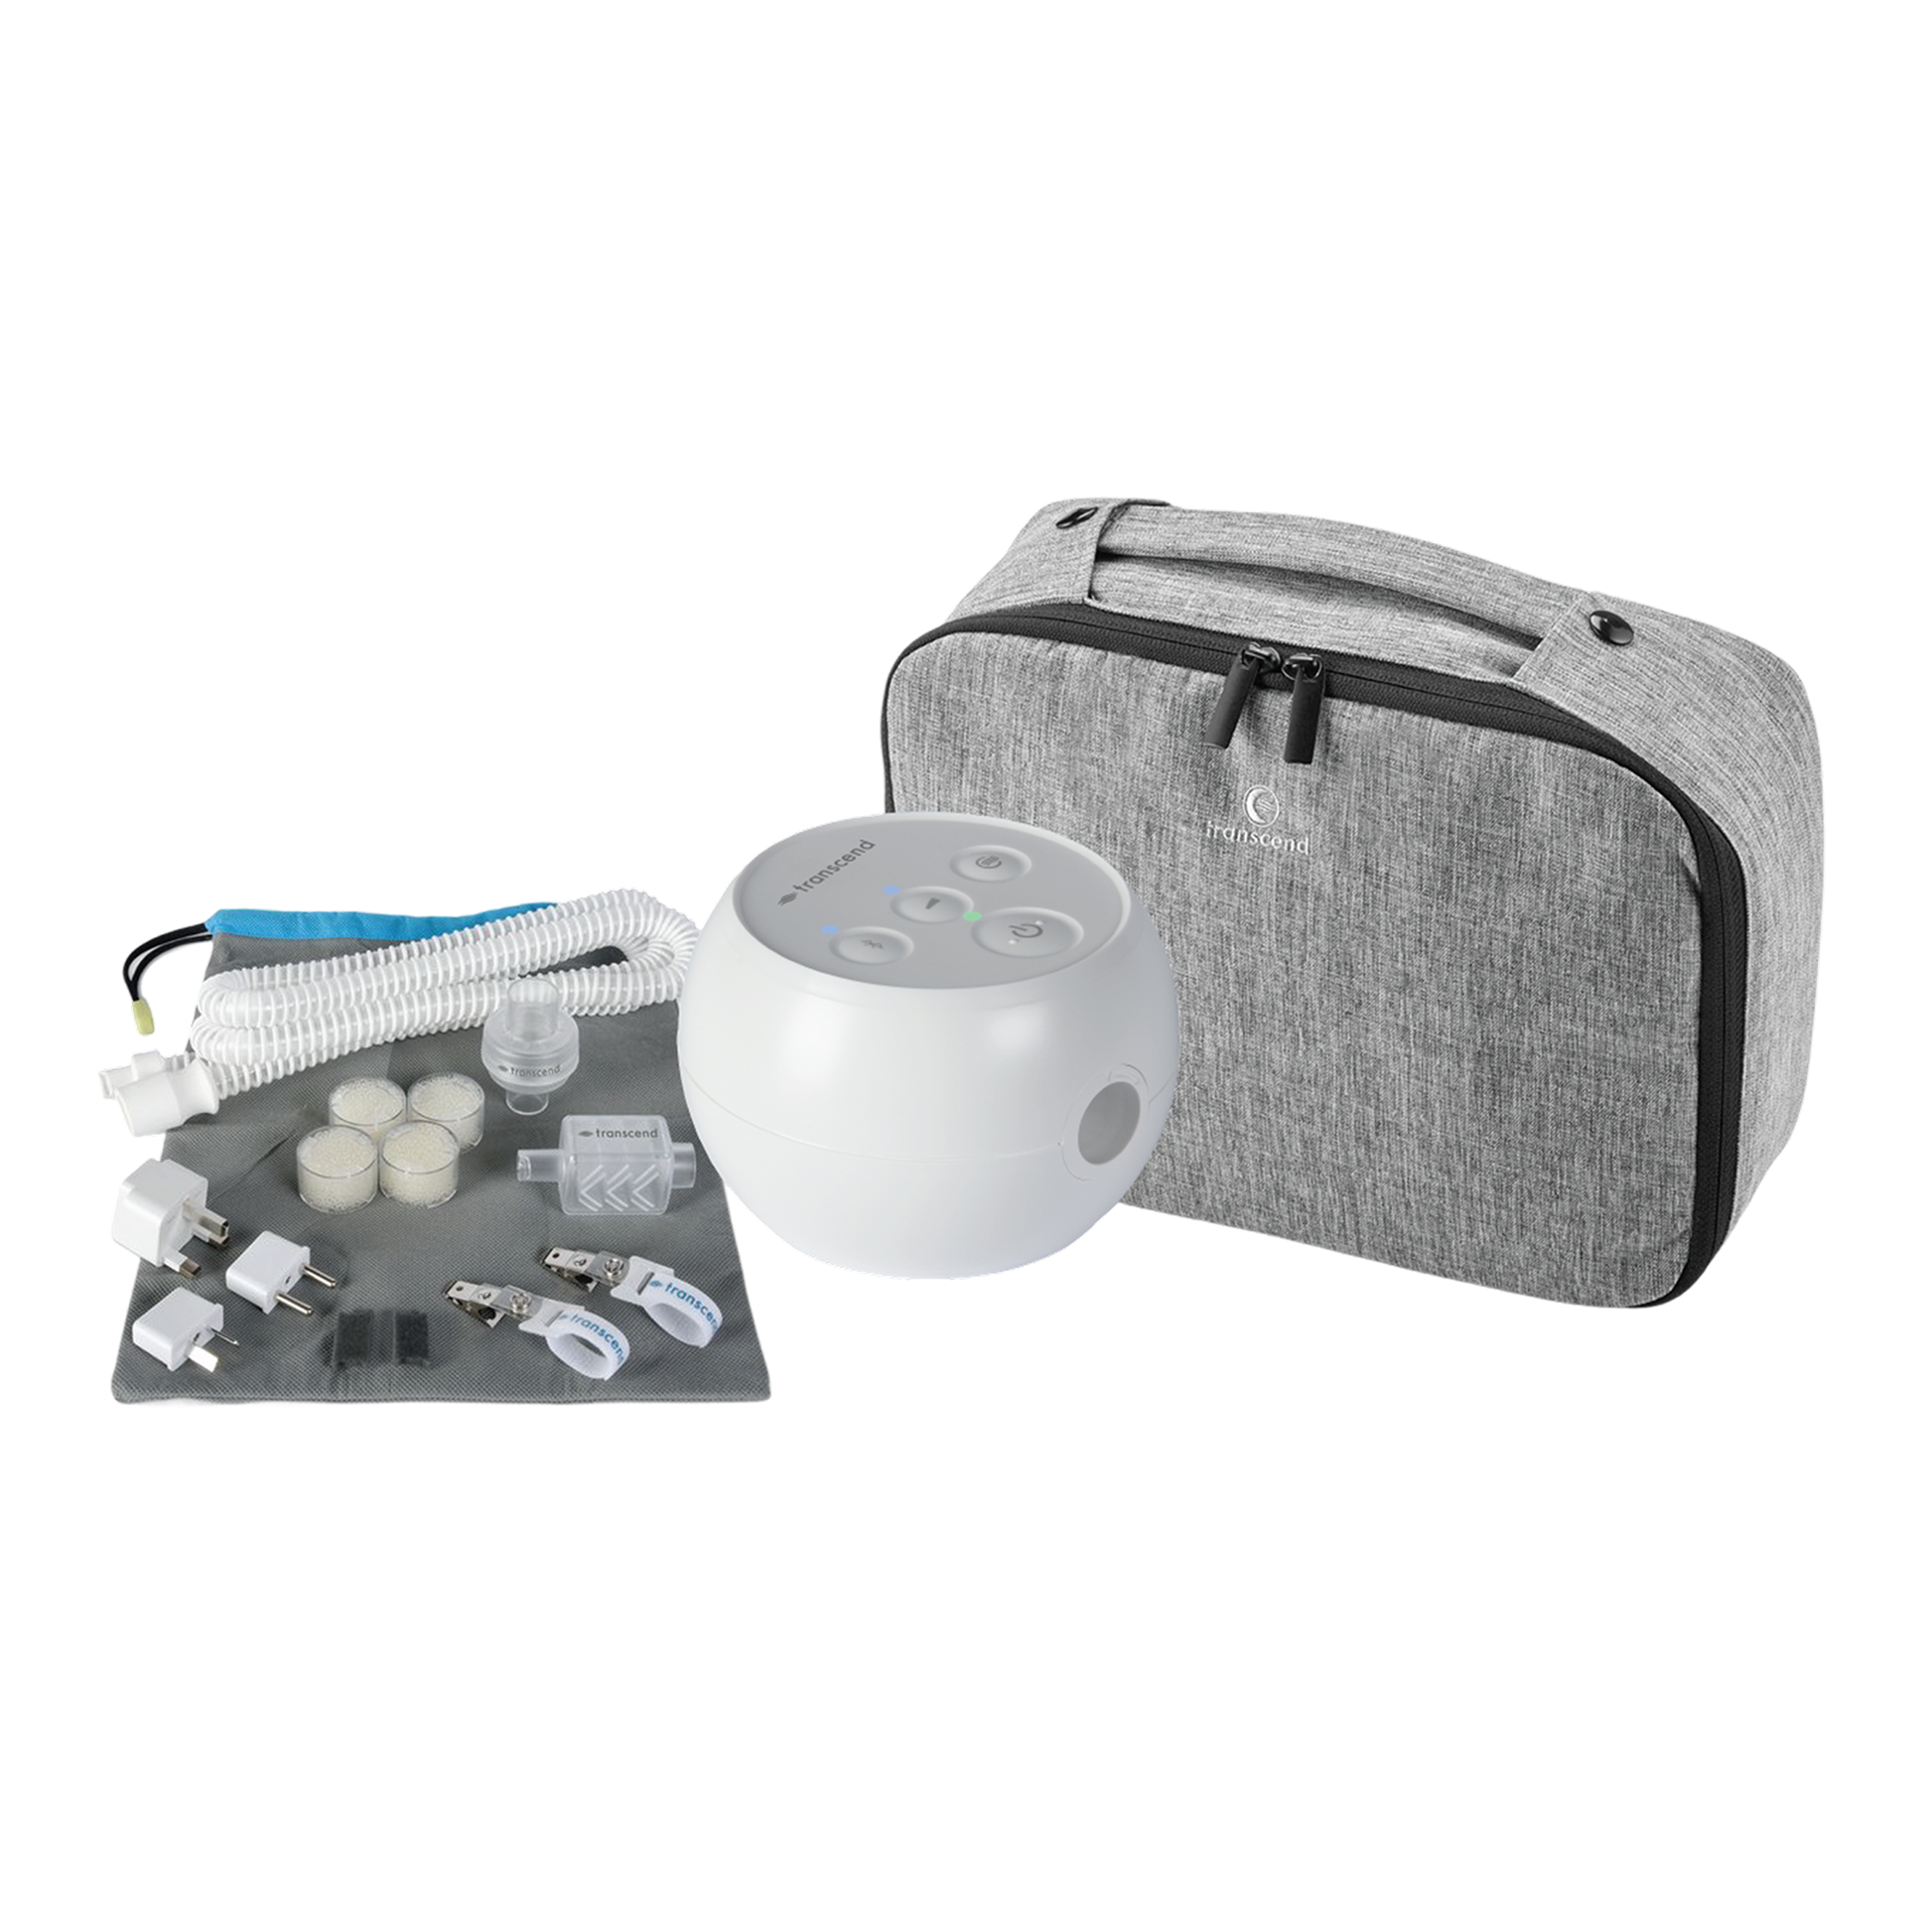
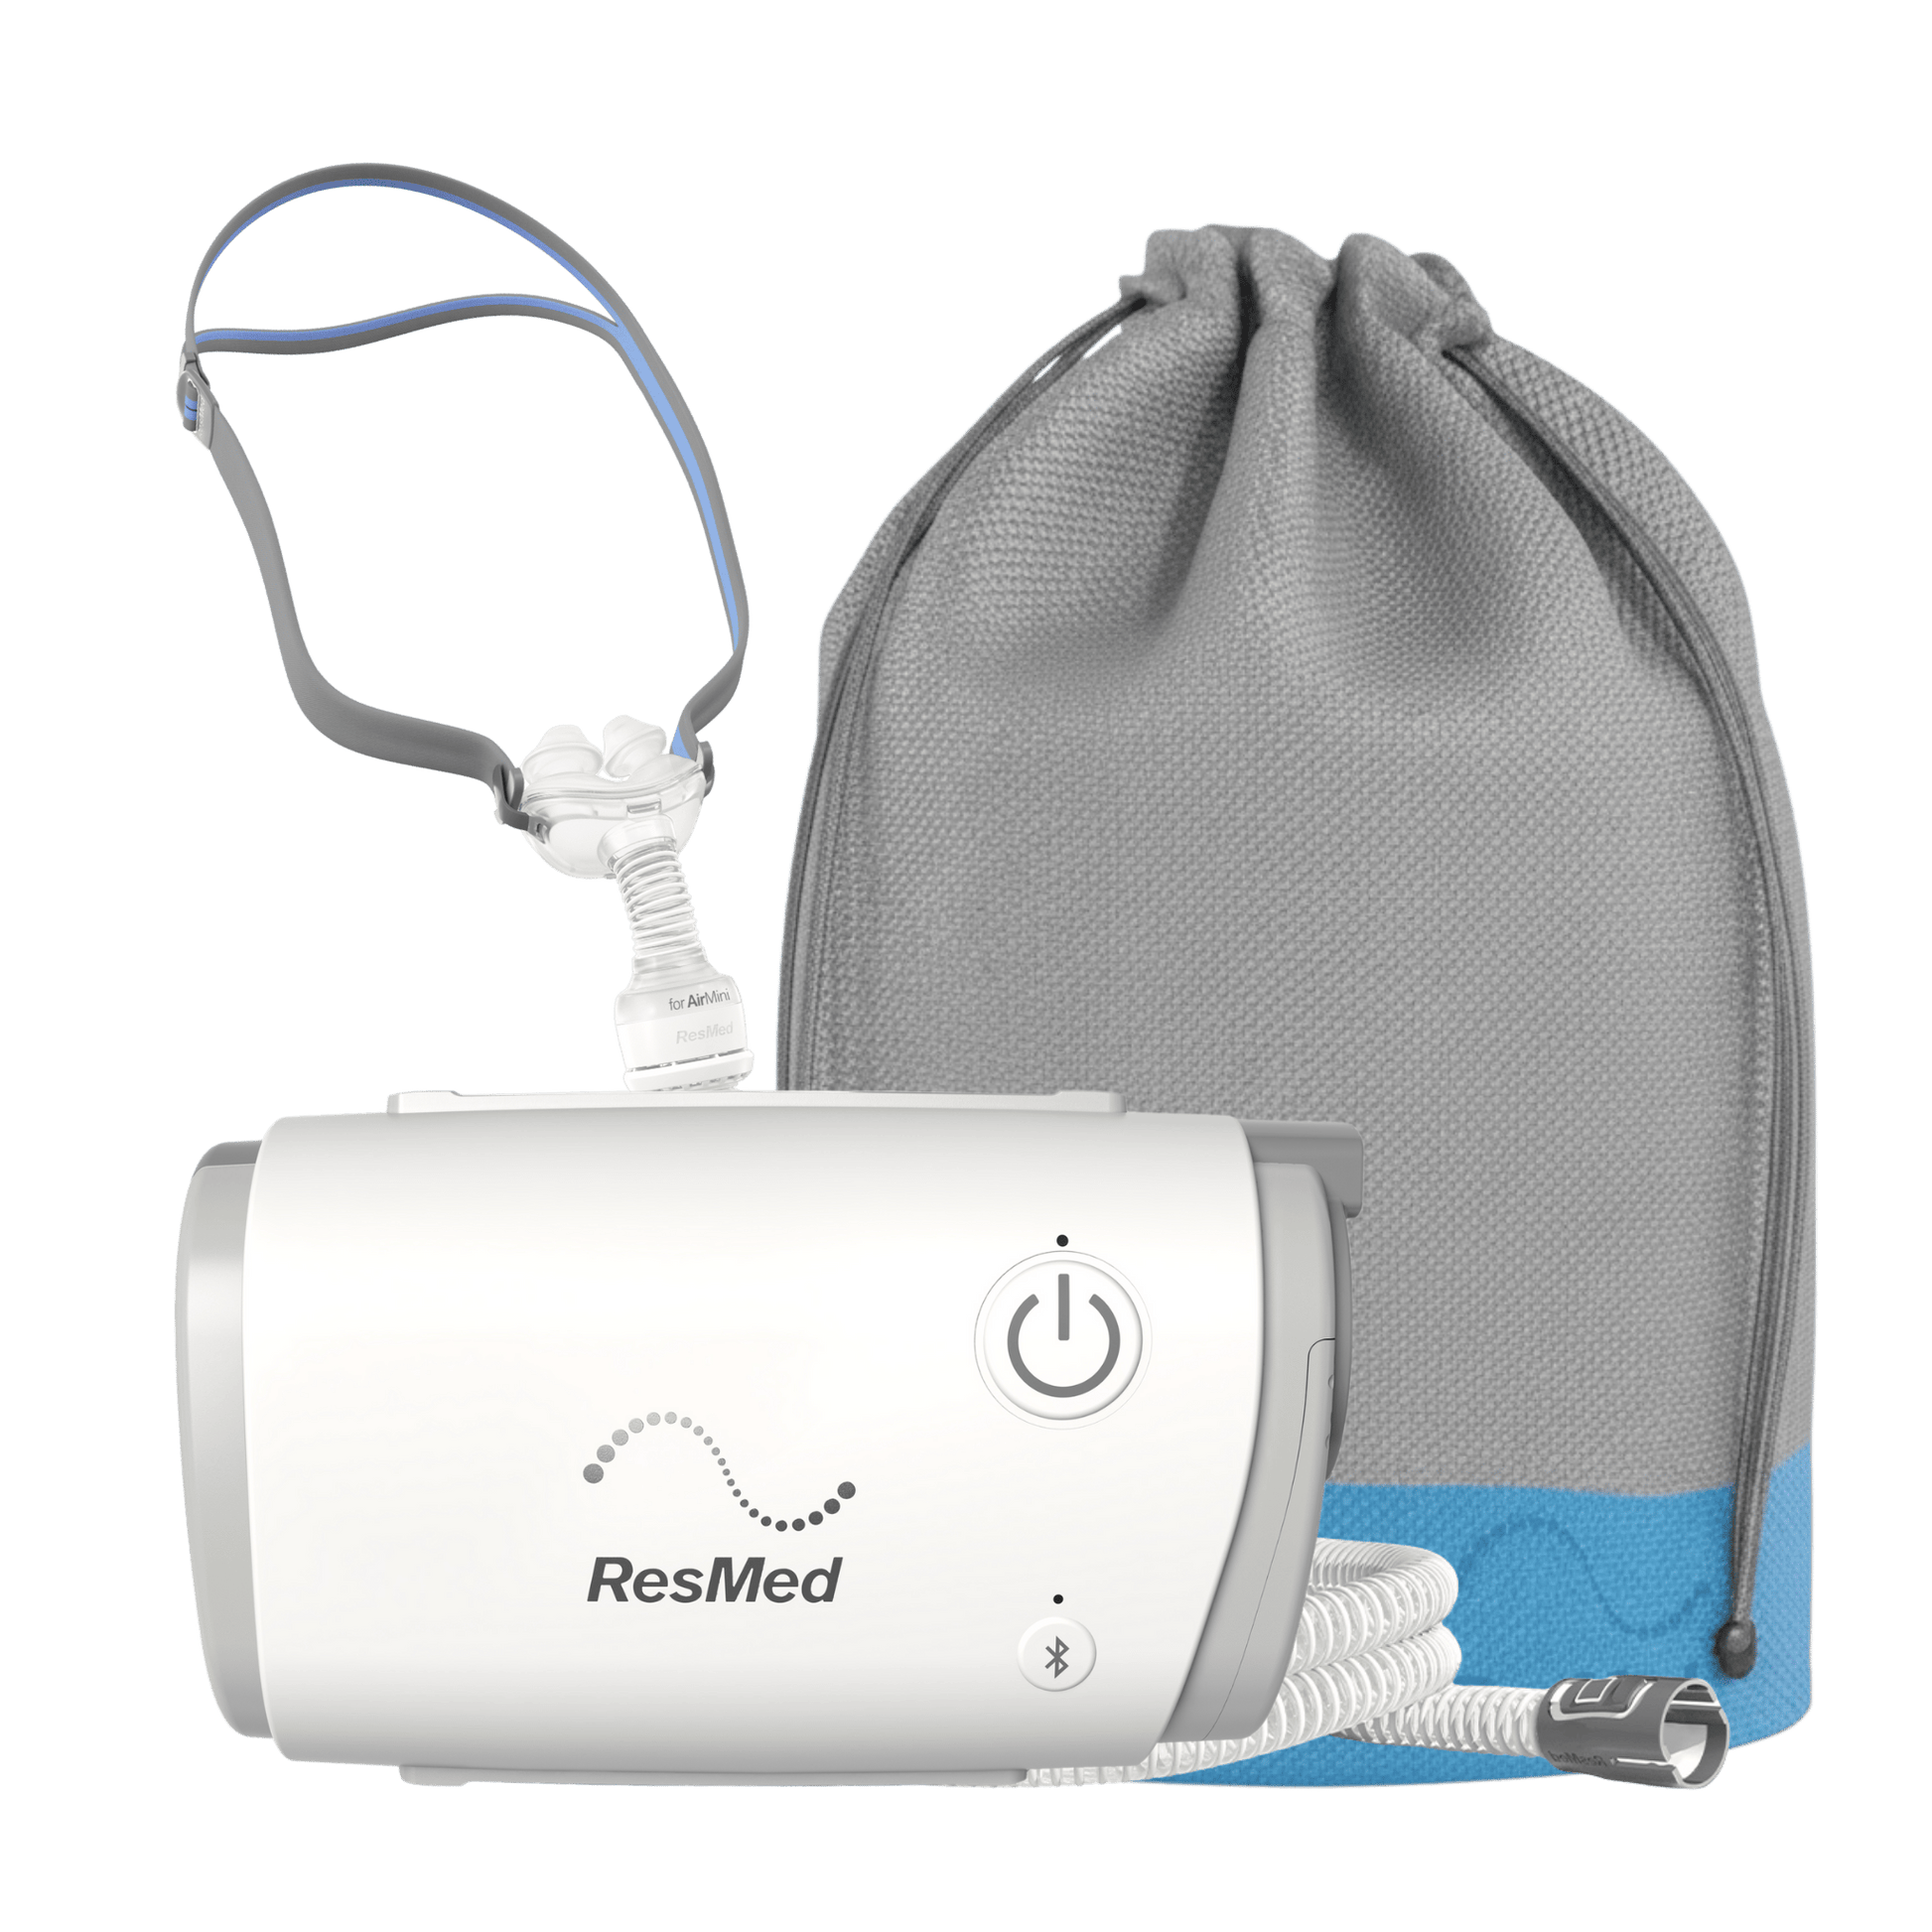
Auto-CPAPs (also known as APAP machines) are the most popular treatment for obstructive sleep apnea, adapting to your breathing in real time to deliver the perfect amount of pressure with every breath. These machines ease you into therapy night after night with the help of customizable comfort features, built-in heated humidification, and daily therapy insights. Shop trusted brands like ResMed, Fisher & Paykel, and React Health—all backed by our 60-Night Machine Guarantee.