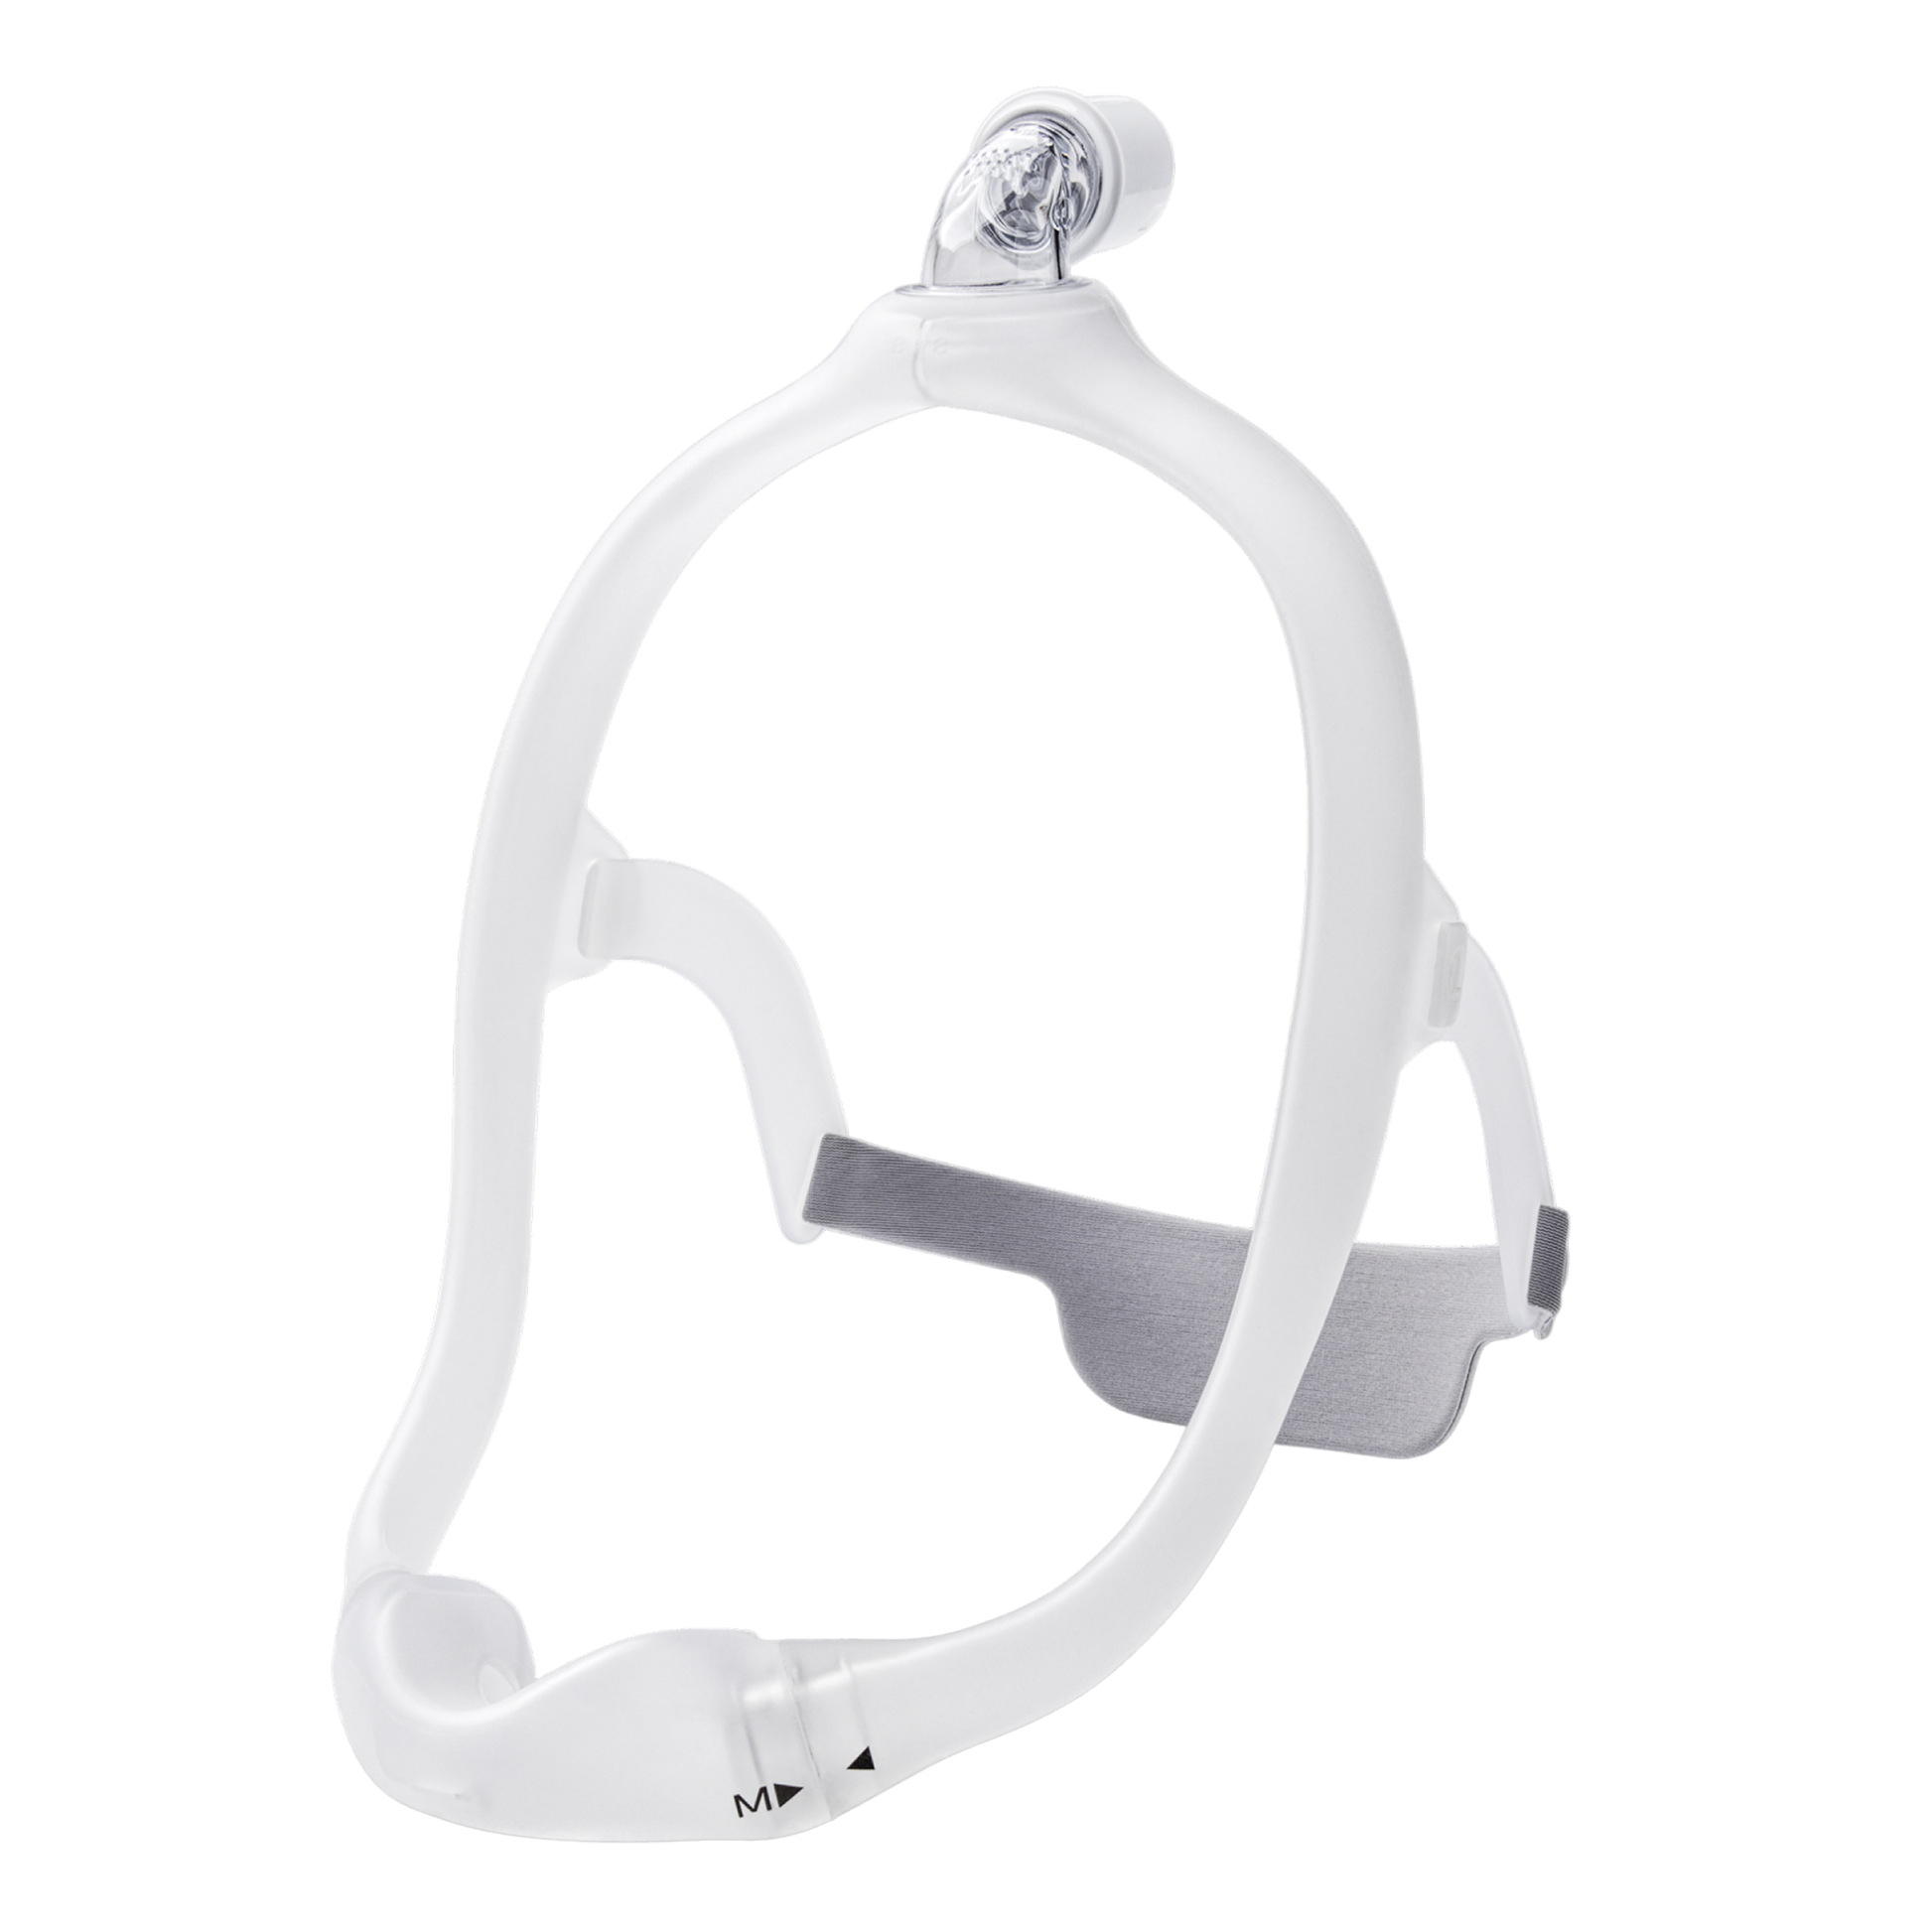
DreamWear Exhalation Ports
The DreamWear Nasal CPAP Mask has two exhalation ports built into the device. Air is released through tiny holes located on the elbow of the DreamWear mask, which is placed at the top of the head. A second exhalation port is found on the gel pillow of the nasal mask. A small rectangular slit found on the front exterior of the DreamWear cushion allows air to release from the nostrils.
Functionality Tips
The DreamWear Nasal Mask uses a quick-release swivel to allow users to easily and rapidly remove the mask from the hose when needed. To ensure the mask elbow and swivel are firmly attached for use throughout the night, listen for a clicking sound when installing.
Please Note: It is helpful to give the CPAP hose some slack to create a small range of motion which will help reduce tug on the mask and maintain the unique design of the DreamWear mask.
Tips to Reduce Tugging on the CPAP Mask and Hose
If active sleep has resulted in the DreamWear elbow disconnecting from the swivel, it may be beneficial to use a hose clip or hose lift system to stabilize the device above the head. The Hose Comfort section introduces a variety of devices designed to prevent the CPAP tube from pulling on the mask.
When selecting a hose lift system, refer to the instructions found on the product pages. If a bedding clip is the best option, follow the directions listed below:
- Wrap the hook and loop strap around the circumference of the CPAP hose.
- Once the diameter of the hose is covered, feed the strap through the opening in the fabric, and gently pull the strap to ensure the material is firm around the hose.
- Release the end of the strap, allowing it to adhere to the hook and loop material surrounding the hose. Then, attach the metal clip to the pillow or linens to secure the tube.
What Can I Do if my DreamWear Mask Leaks?
If your DreamWear mask is leaking there are a few things you can do:
- Check all the connections on the mask and make sure they're connected properly. A faulty connection can cause air leaks.
- Try adjusting the cushion under the nose, to see if it can be fixed by changing the position slightly. Sometimes this will work too.
- Adjust the headgear straps so the fit is tight enough to support a good seal.
What to Do if My DreamWear Mask is Whistling?
Sometimes the DreamWear mask whistling can be caused by the sheet or the blanket being too close to the air exhaust on the DreamWear mask. The air whistling can be fixed by pulling the sheet away from the mask.
The whistling sound can also happen when the seal breaks. Try adjusting the headgear straps to get a better fit, and repositioning the cushion around the nose.
The silicone nasal cradle cushion should be replaced once every three to six months.
Cleaning Tips
- Separate the nasal cushion from the frame.
- Run lukewarm soapy water through the frame.
- Rinse the frame with lukewarm water.
- Gently scrub the nasal cushion with mild soap and water, making sure to remove all debris that may have collected.
- Rinse the cushion with lukewarm water.
- Set the frame and cushion aside to air dry.
Where is the Cushion Size Located?
The DreamWear cushion size is printed in black letters on the front of the cushion, beside the arrow which indicates the frame and cushion connection points. The cushion is available in four sizes: small, medium, medium wide, and large.
Where is the Frame Size Located?
To find the size of the DreamWear Nasal Mask Frame, locate the elbow at the top of the unit. Just above the elbow, grey letters are imprinted on the frame to indicate the size. The letters "SM" represent a size Small, "MED" represent a size Medium, and "LG" represent a size Large.
Fitting Guide for Customers Who Already Have a Frame
If you have an existing frame, this helpful guide displays if it is fitting properly. The ideal fit for the DreamWear series of masks is one in which the frame goes up the side of the face, between the eye and the ear. If the medium frame slips when positioned this way, and slides back over the ear, it's a sign the small frame is a better fit. If the medium frame bunches up close to the eyes or partially blocks view, it's a sign the large frame is a better fit. The manufacturer has provided a helpful frame fitting guide that can assist with frame selection.
How To Determine the Correct Frame Size?
The frame size is equivalent to the distance around the head from one side of the nose to the other. Follow these steps to determine the appropriate frame size:
Begin by placing the measuring tape marker at the base of the nose on one side. Use the tape to follow along the side of the cheek and upward over the top of the head. Keep pulling the tape measure around the face, down the other cheek, and to the base of the nose on the opposite side.
Use this measurement to most closely match one of the frame sizes listed below:
- Small Frame - 19 Inches
- Medium Frame - 20 Inches
- Large Frame - 22 Inches