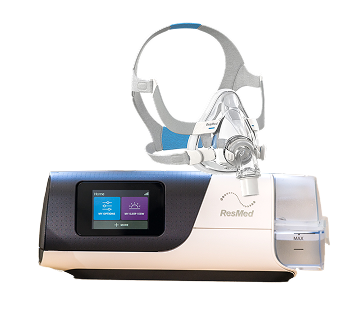
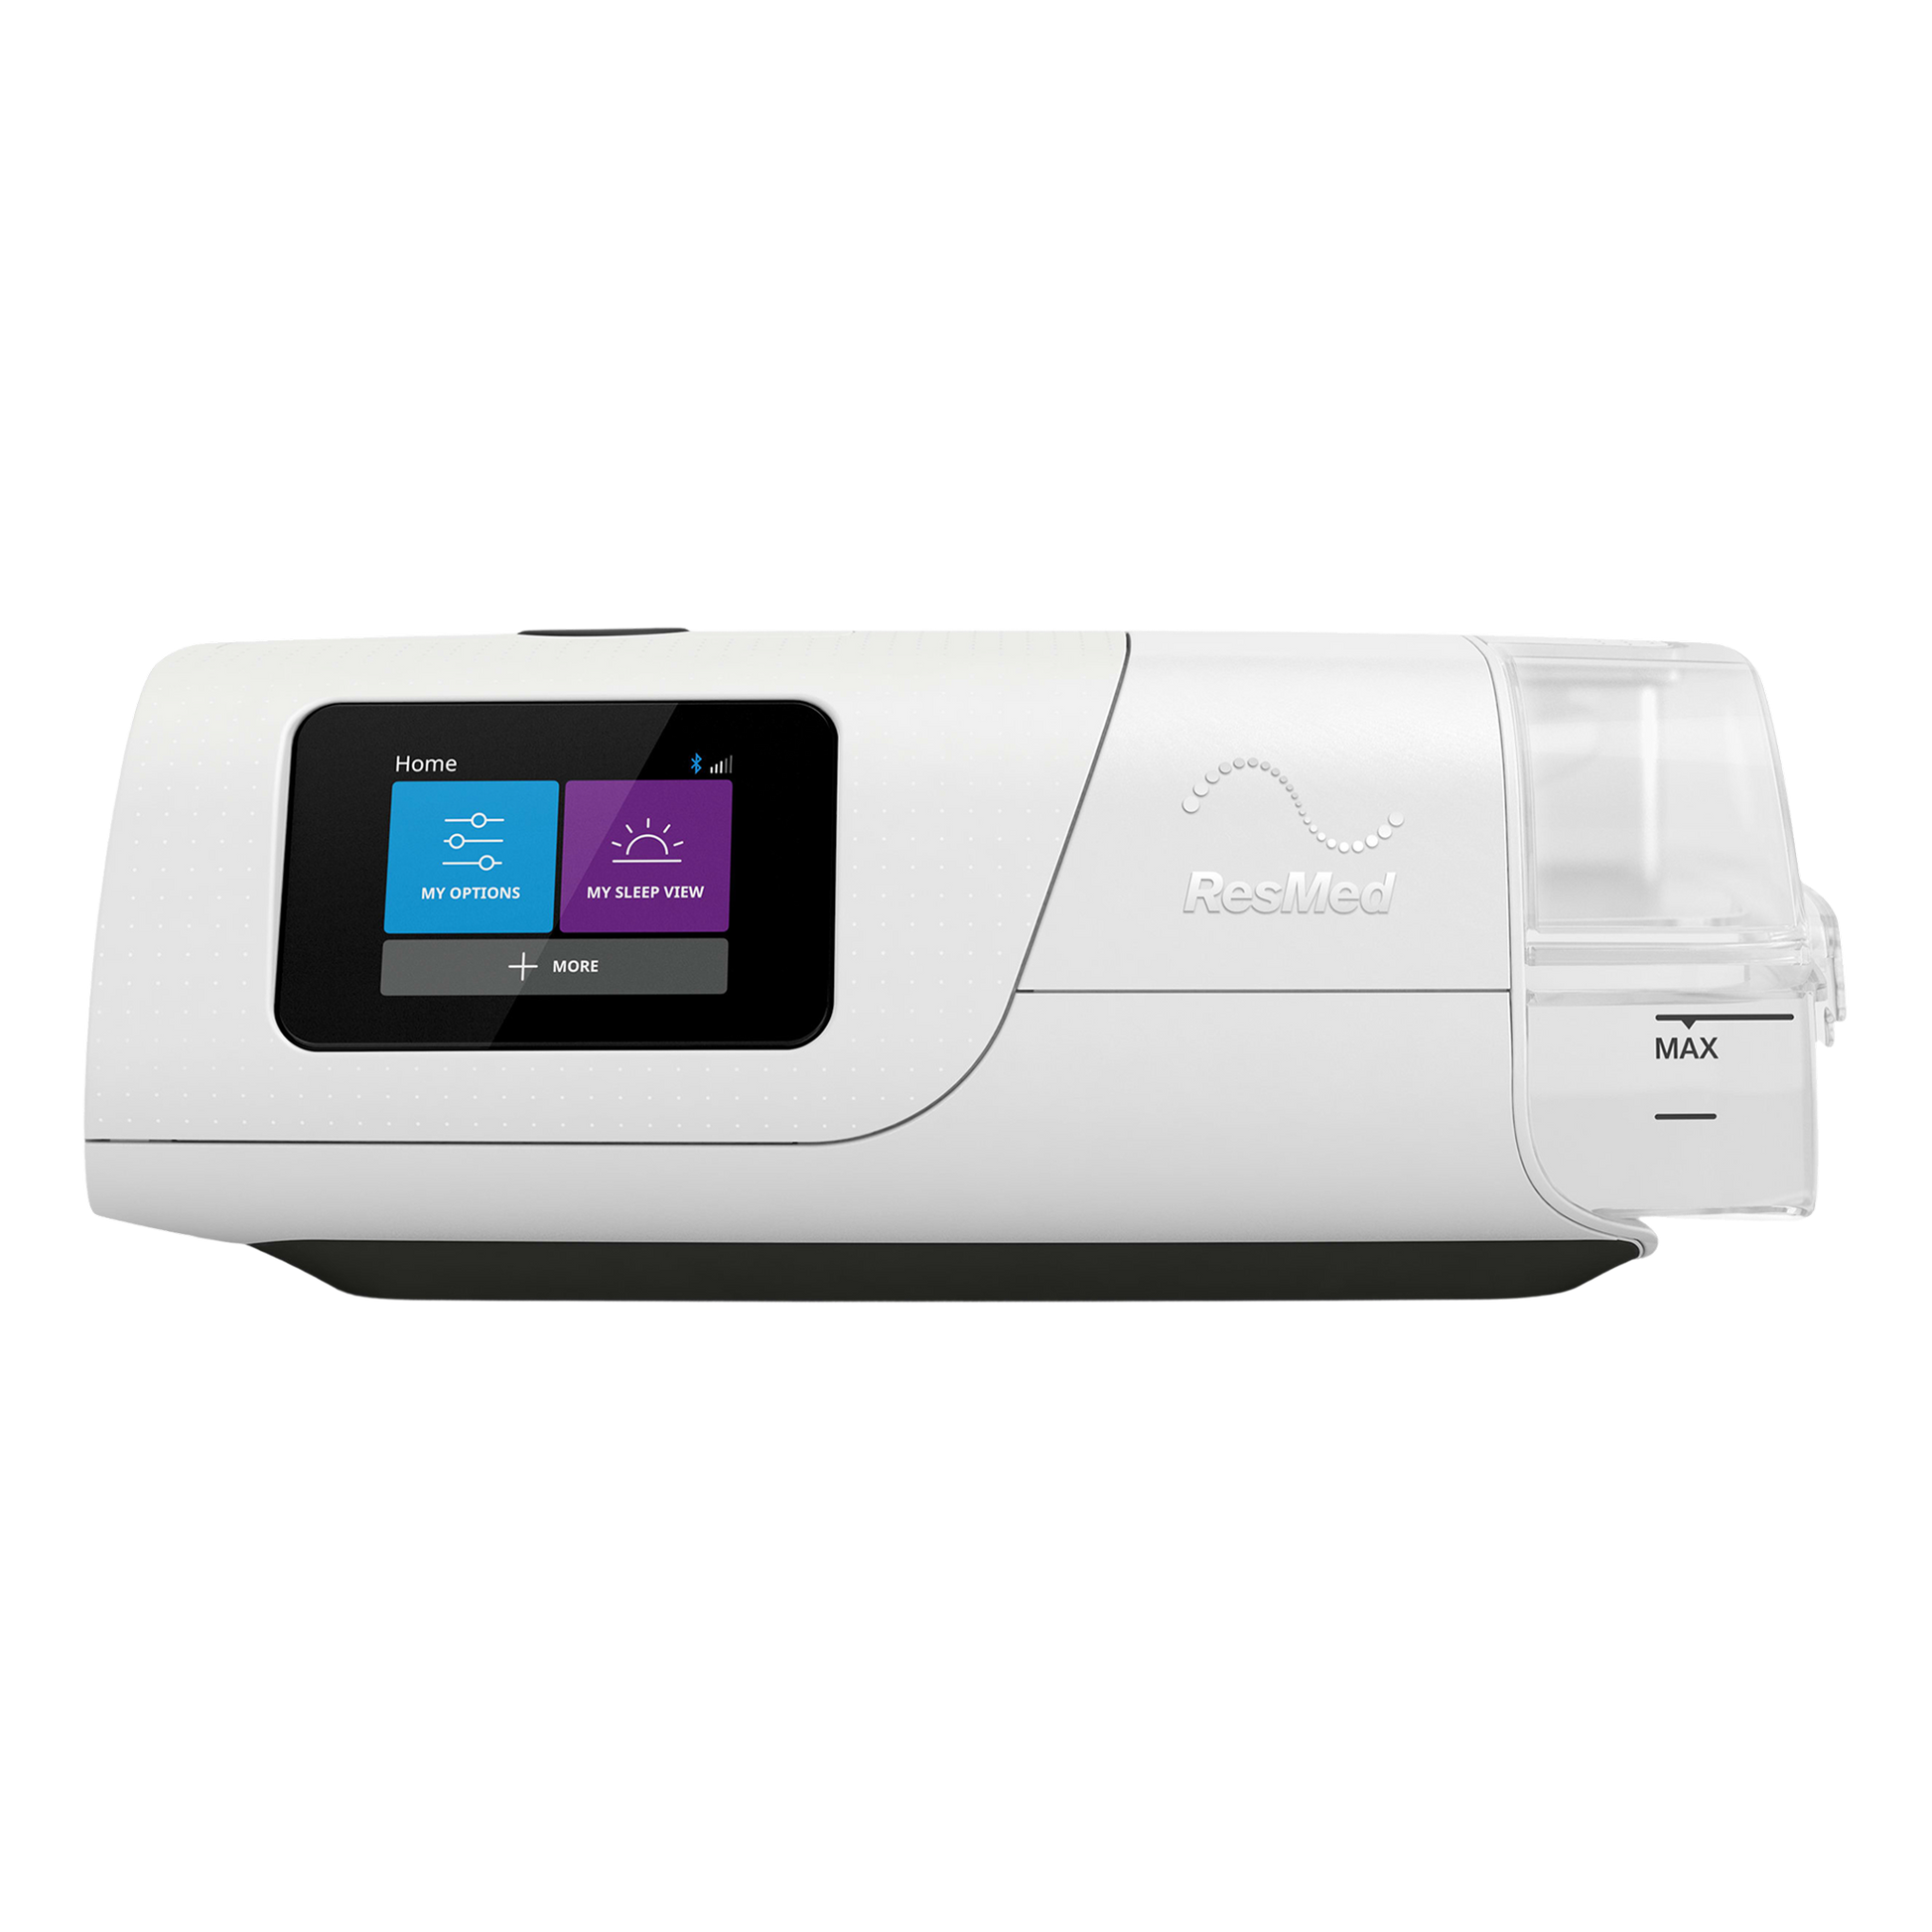
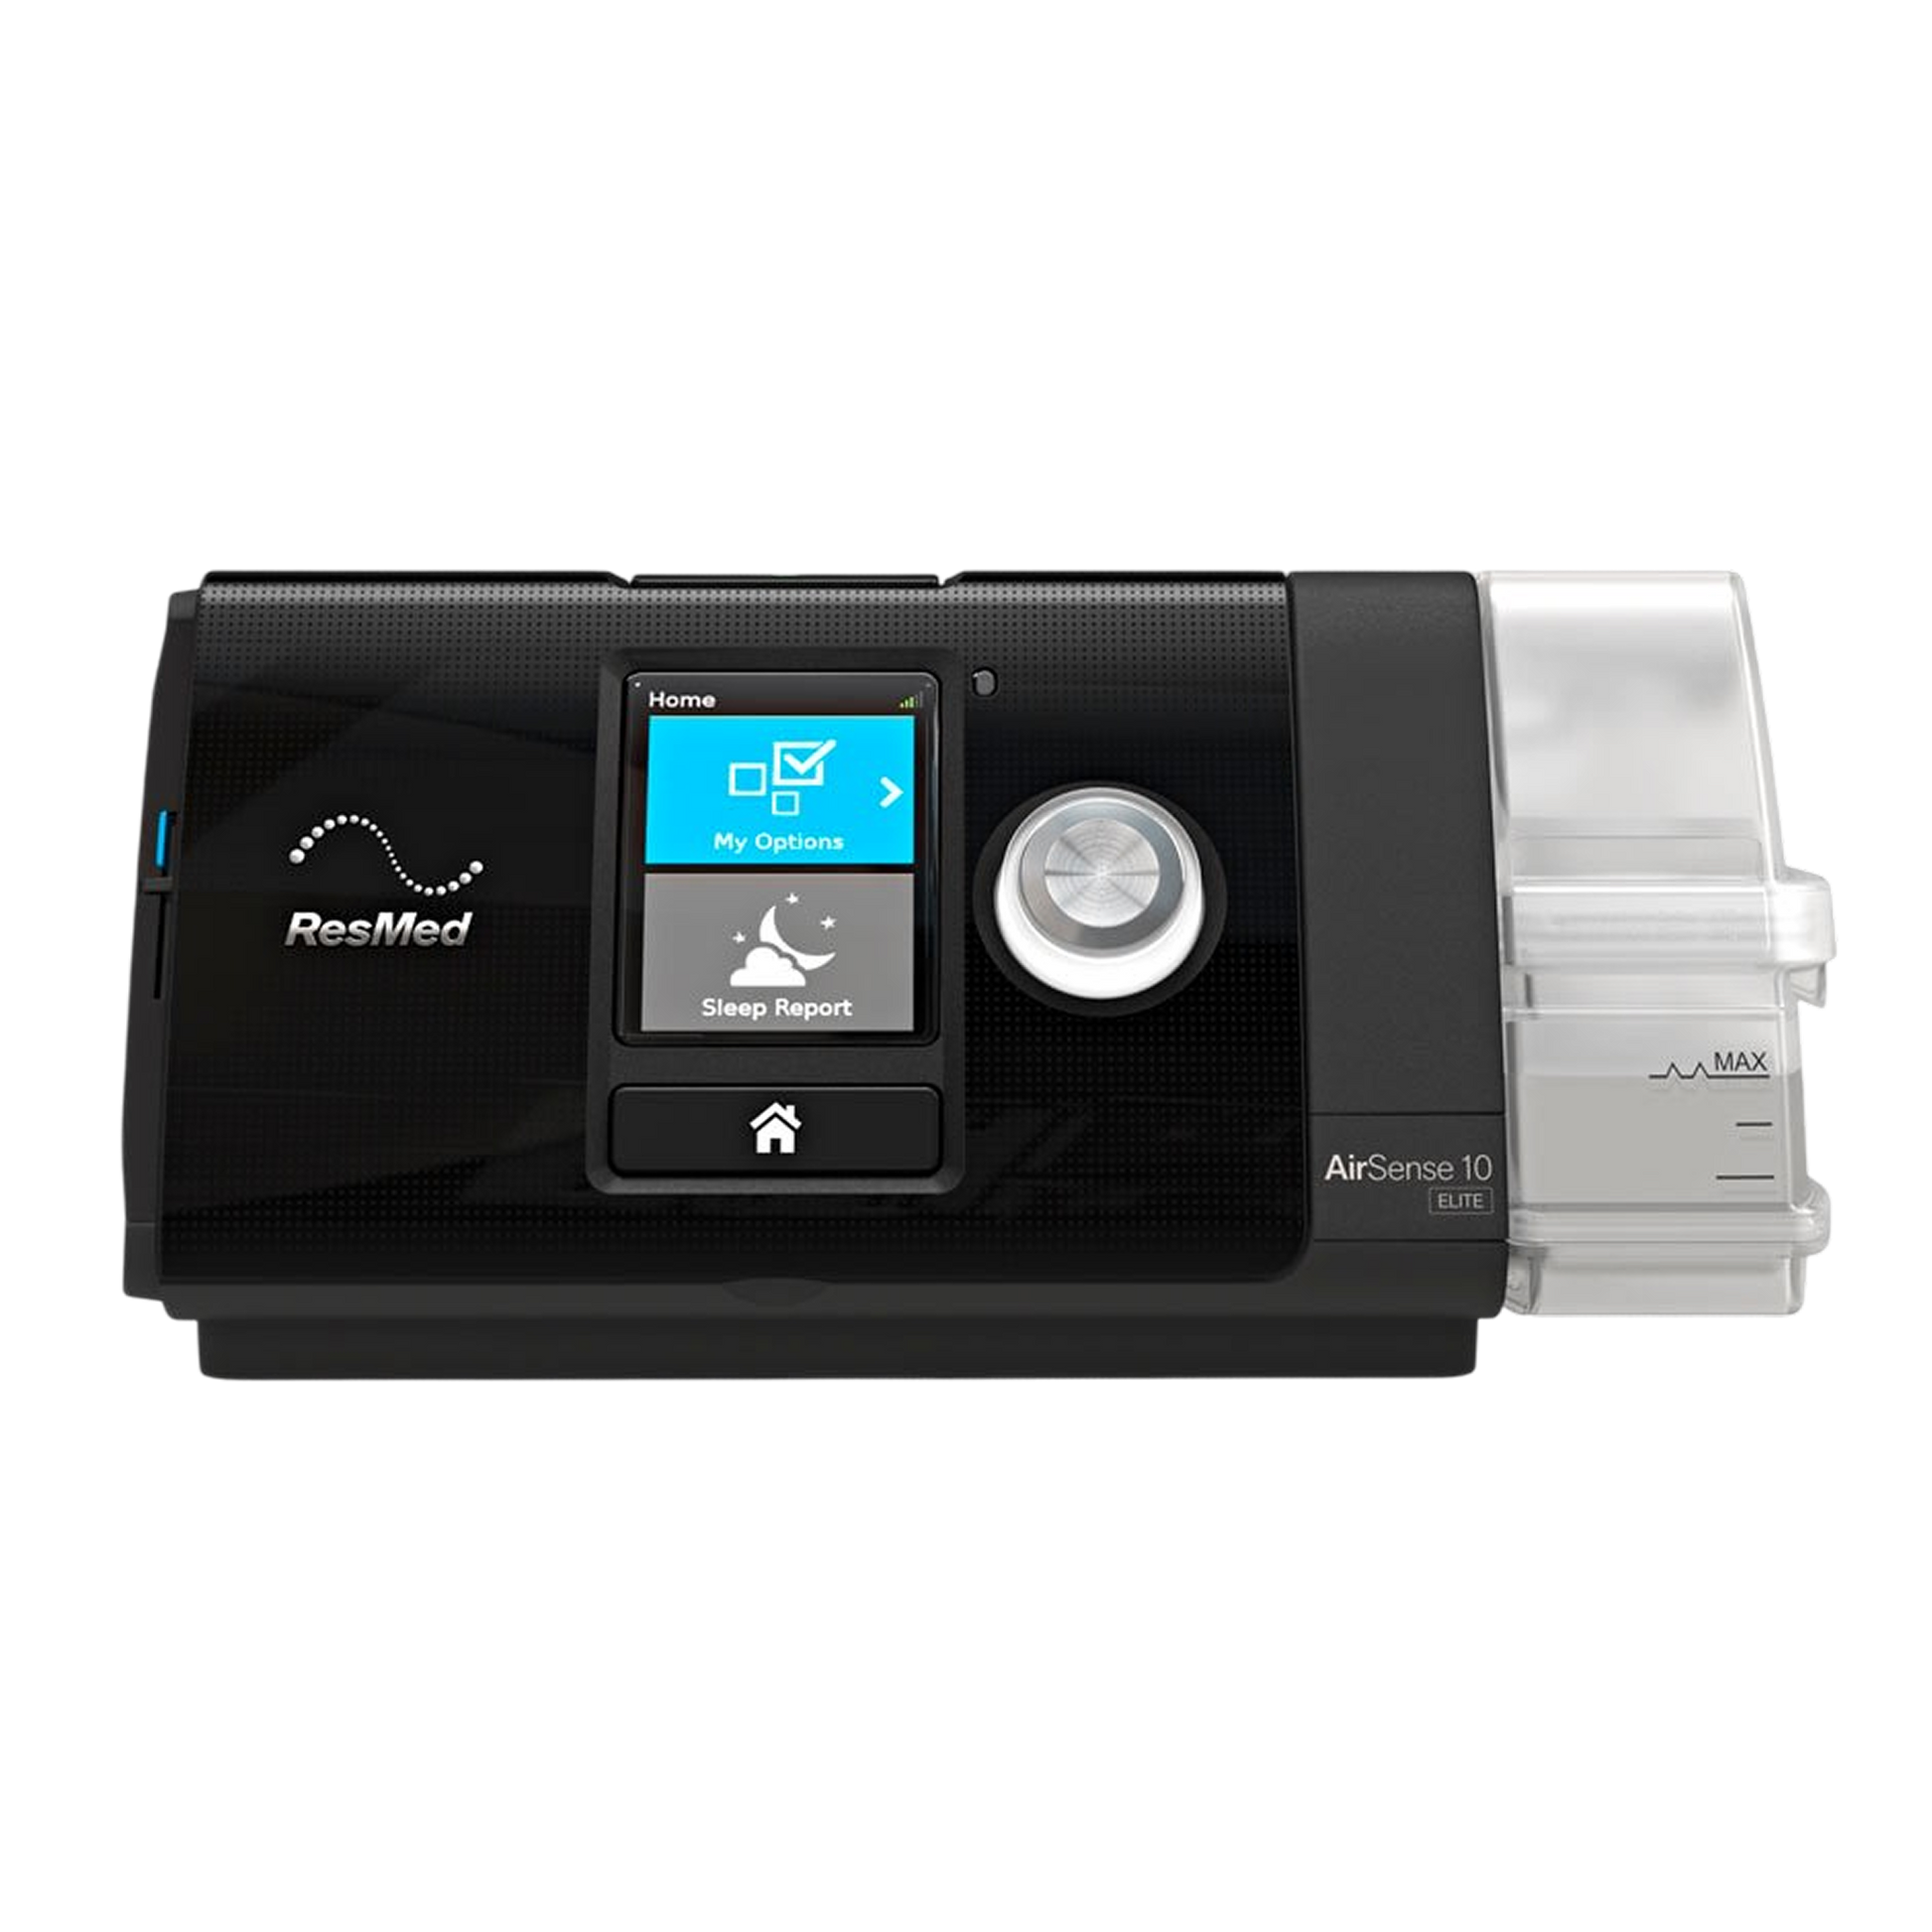
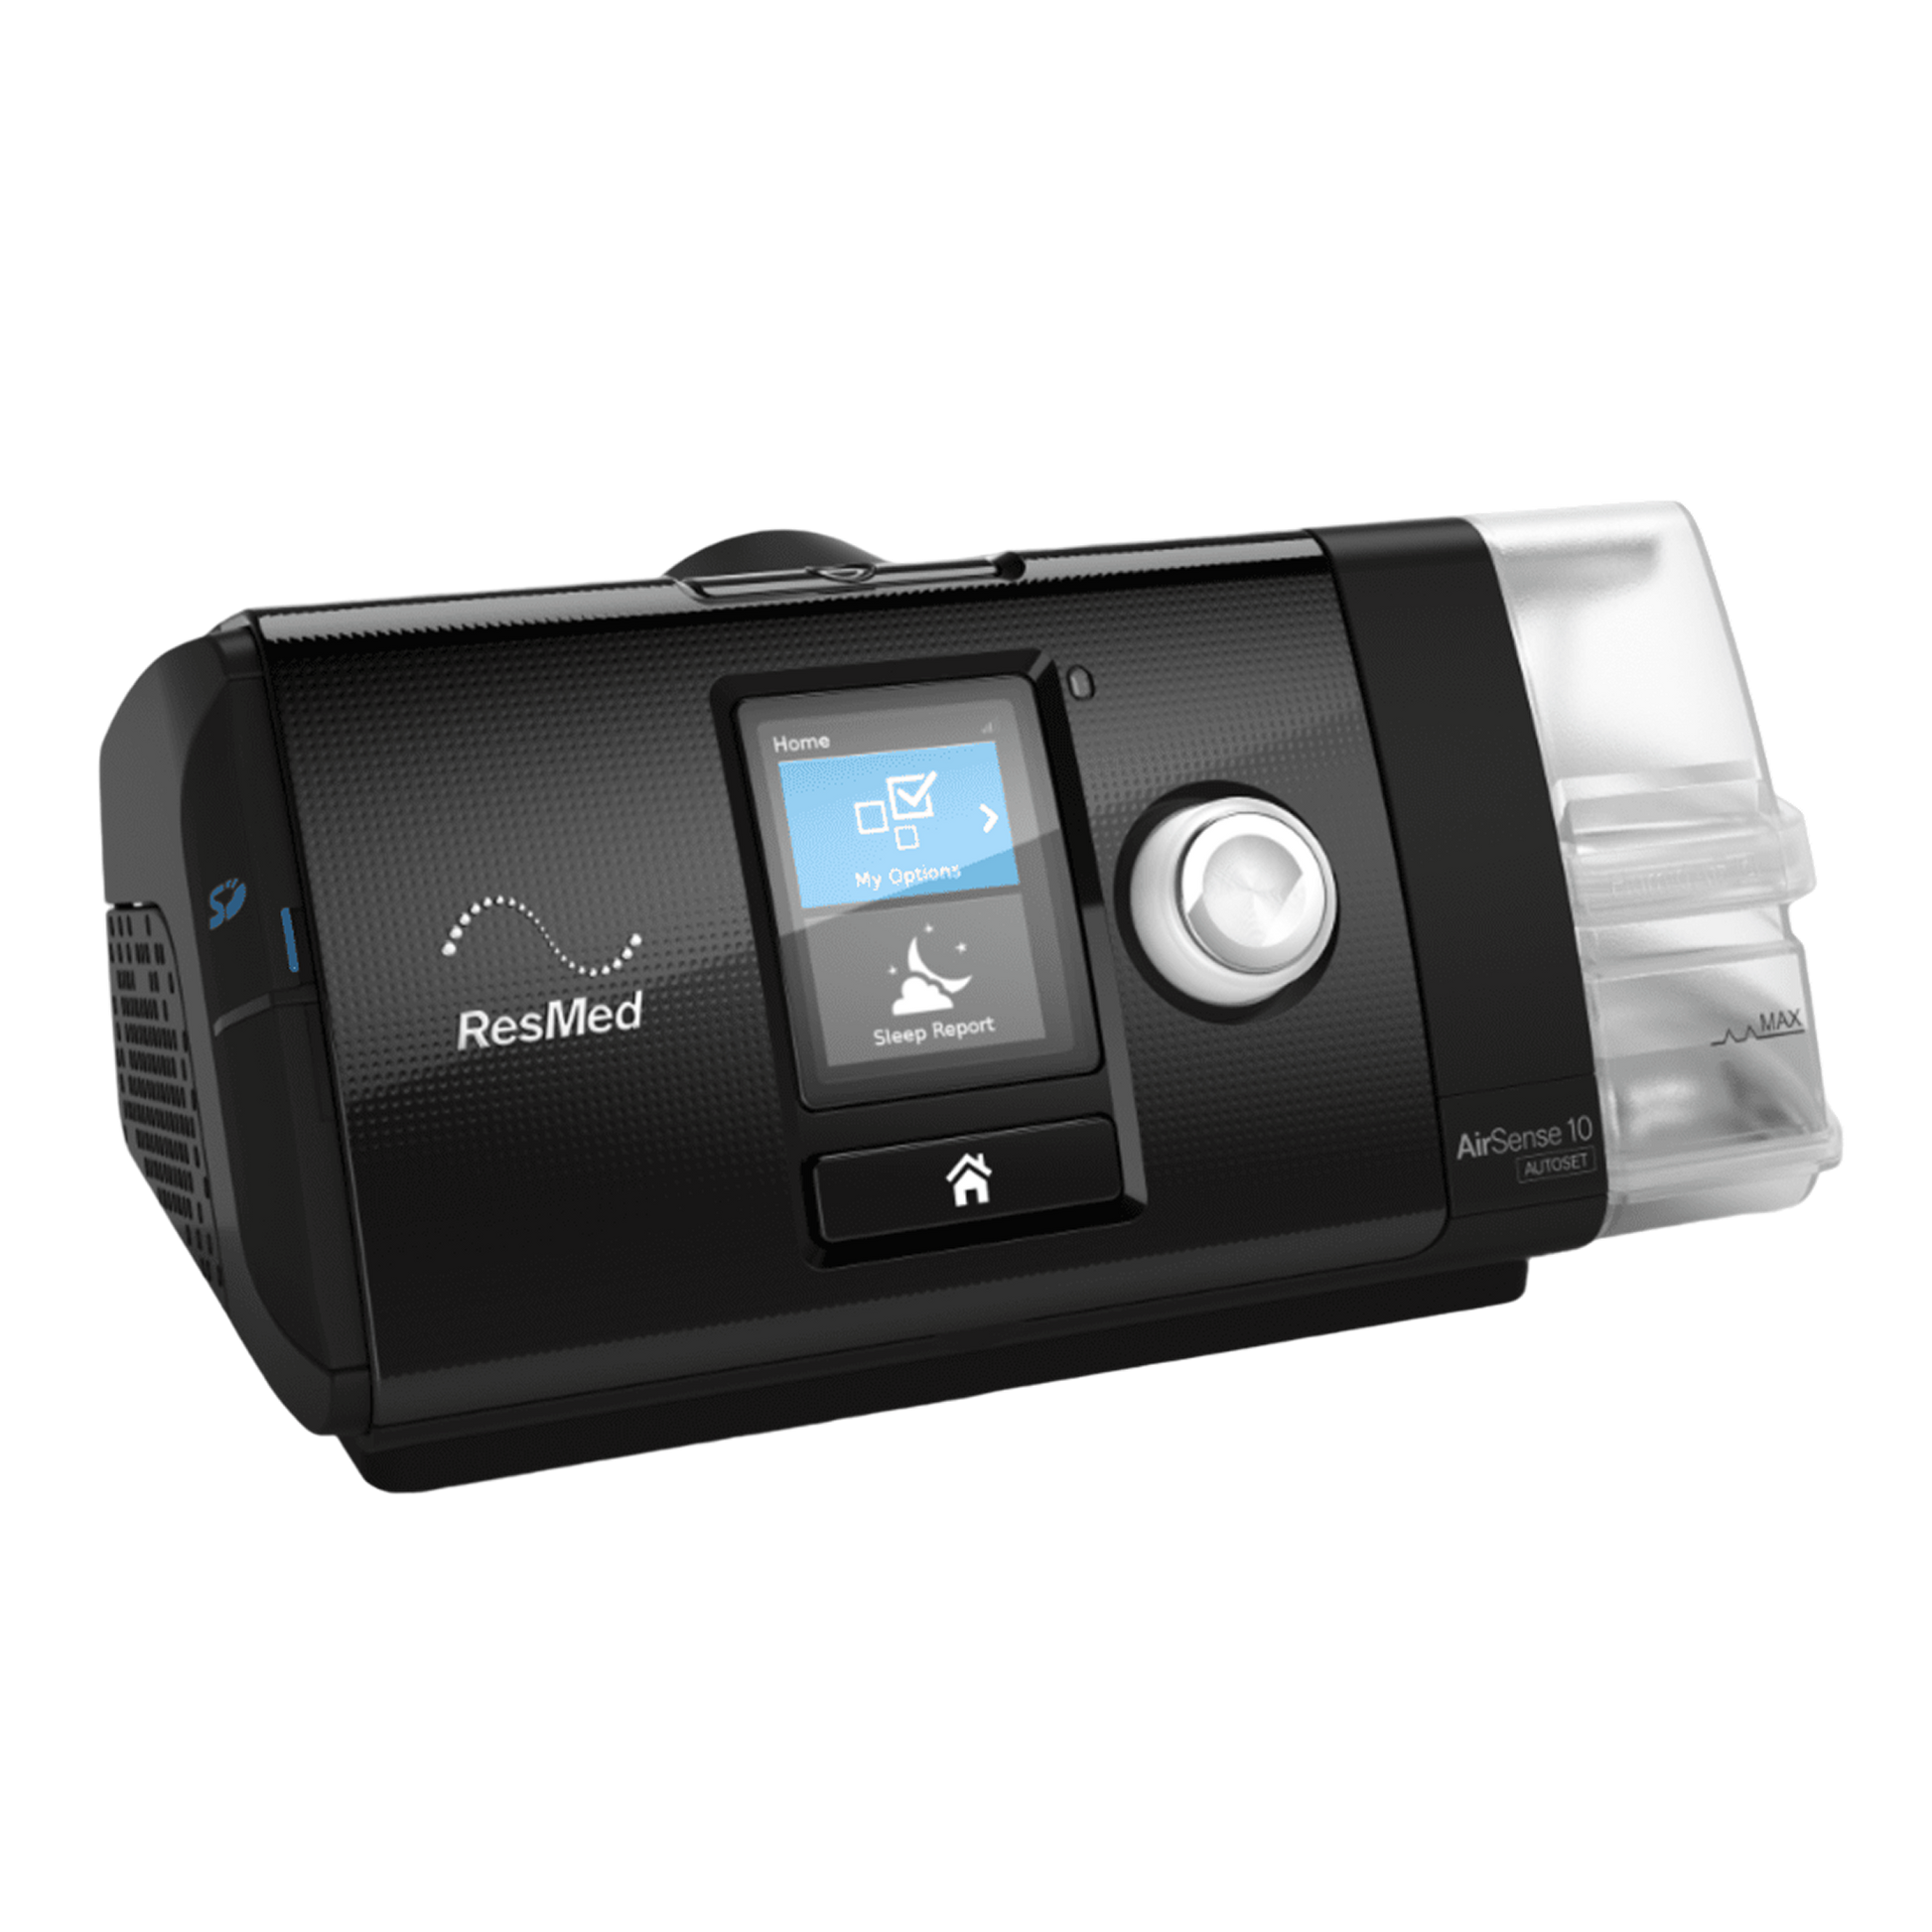
Auto CPAP Machines
Automatic pressure that helps you breathe easier through the night.

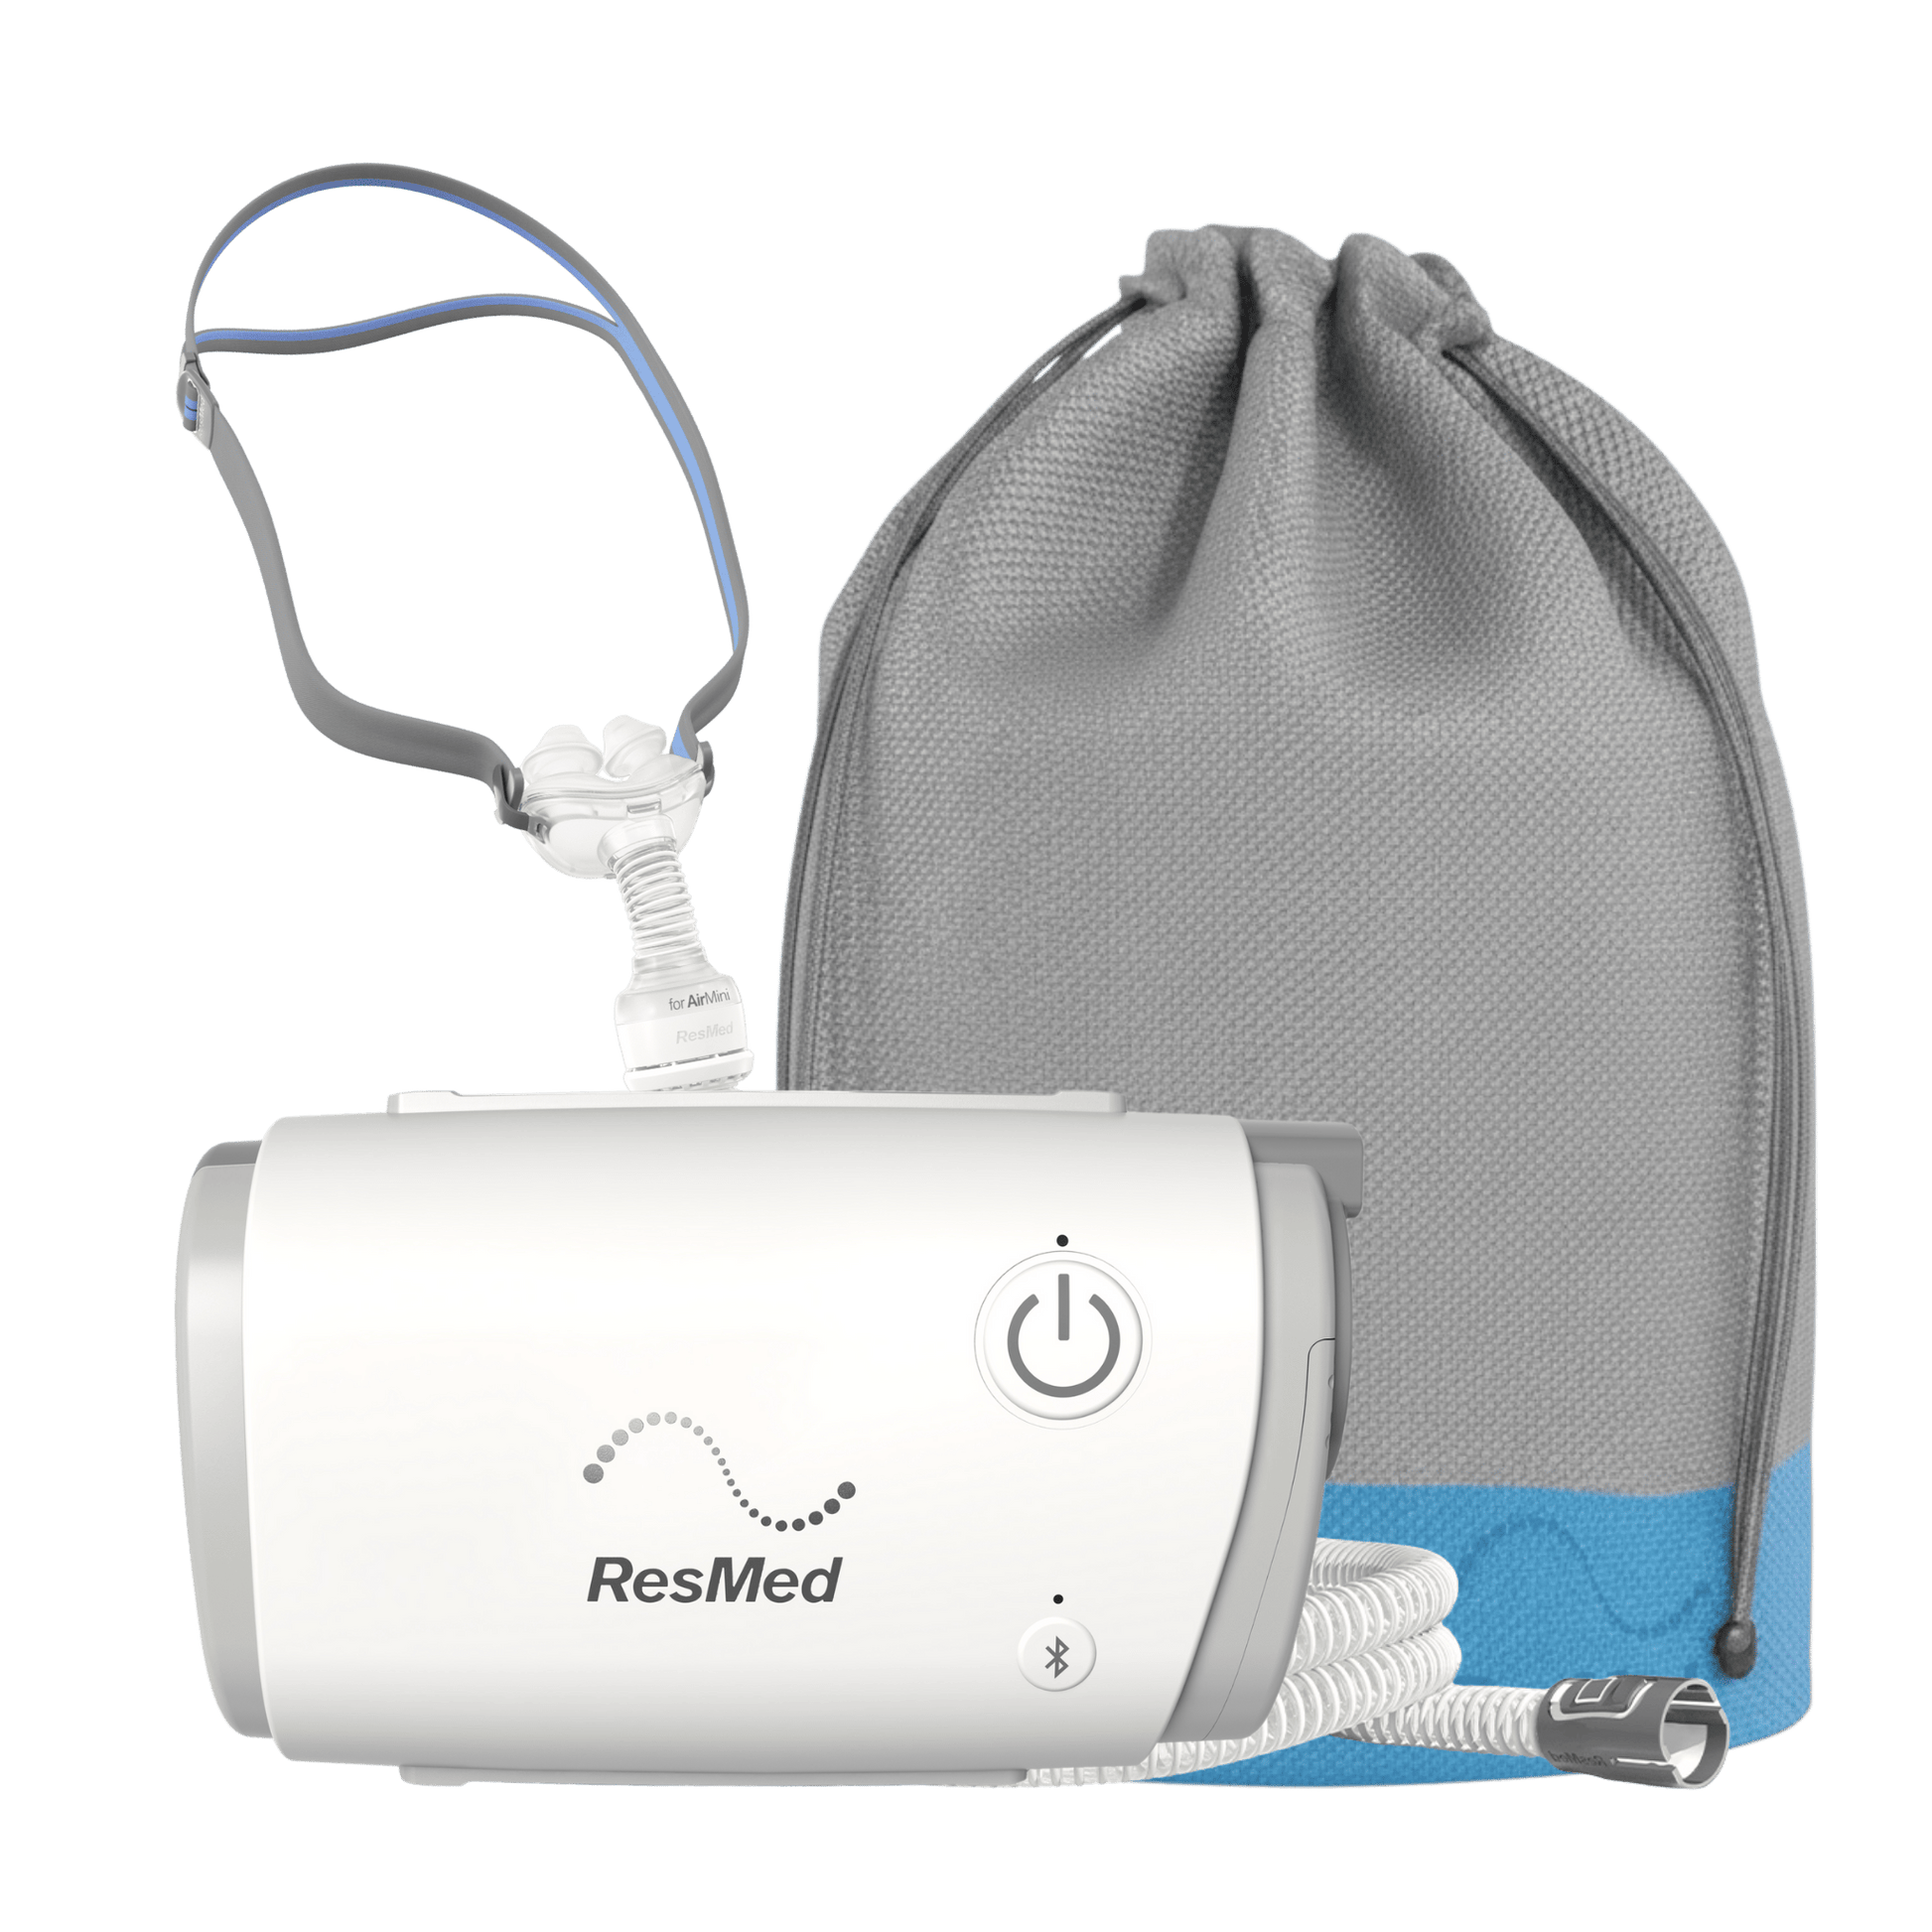
Travel CPAP Machines
Compact devices made for easy sleep therapy on the go.

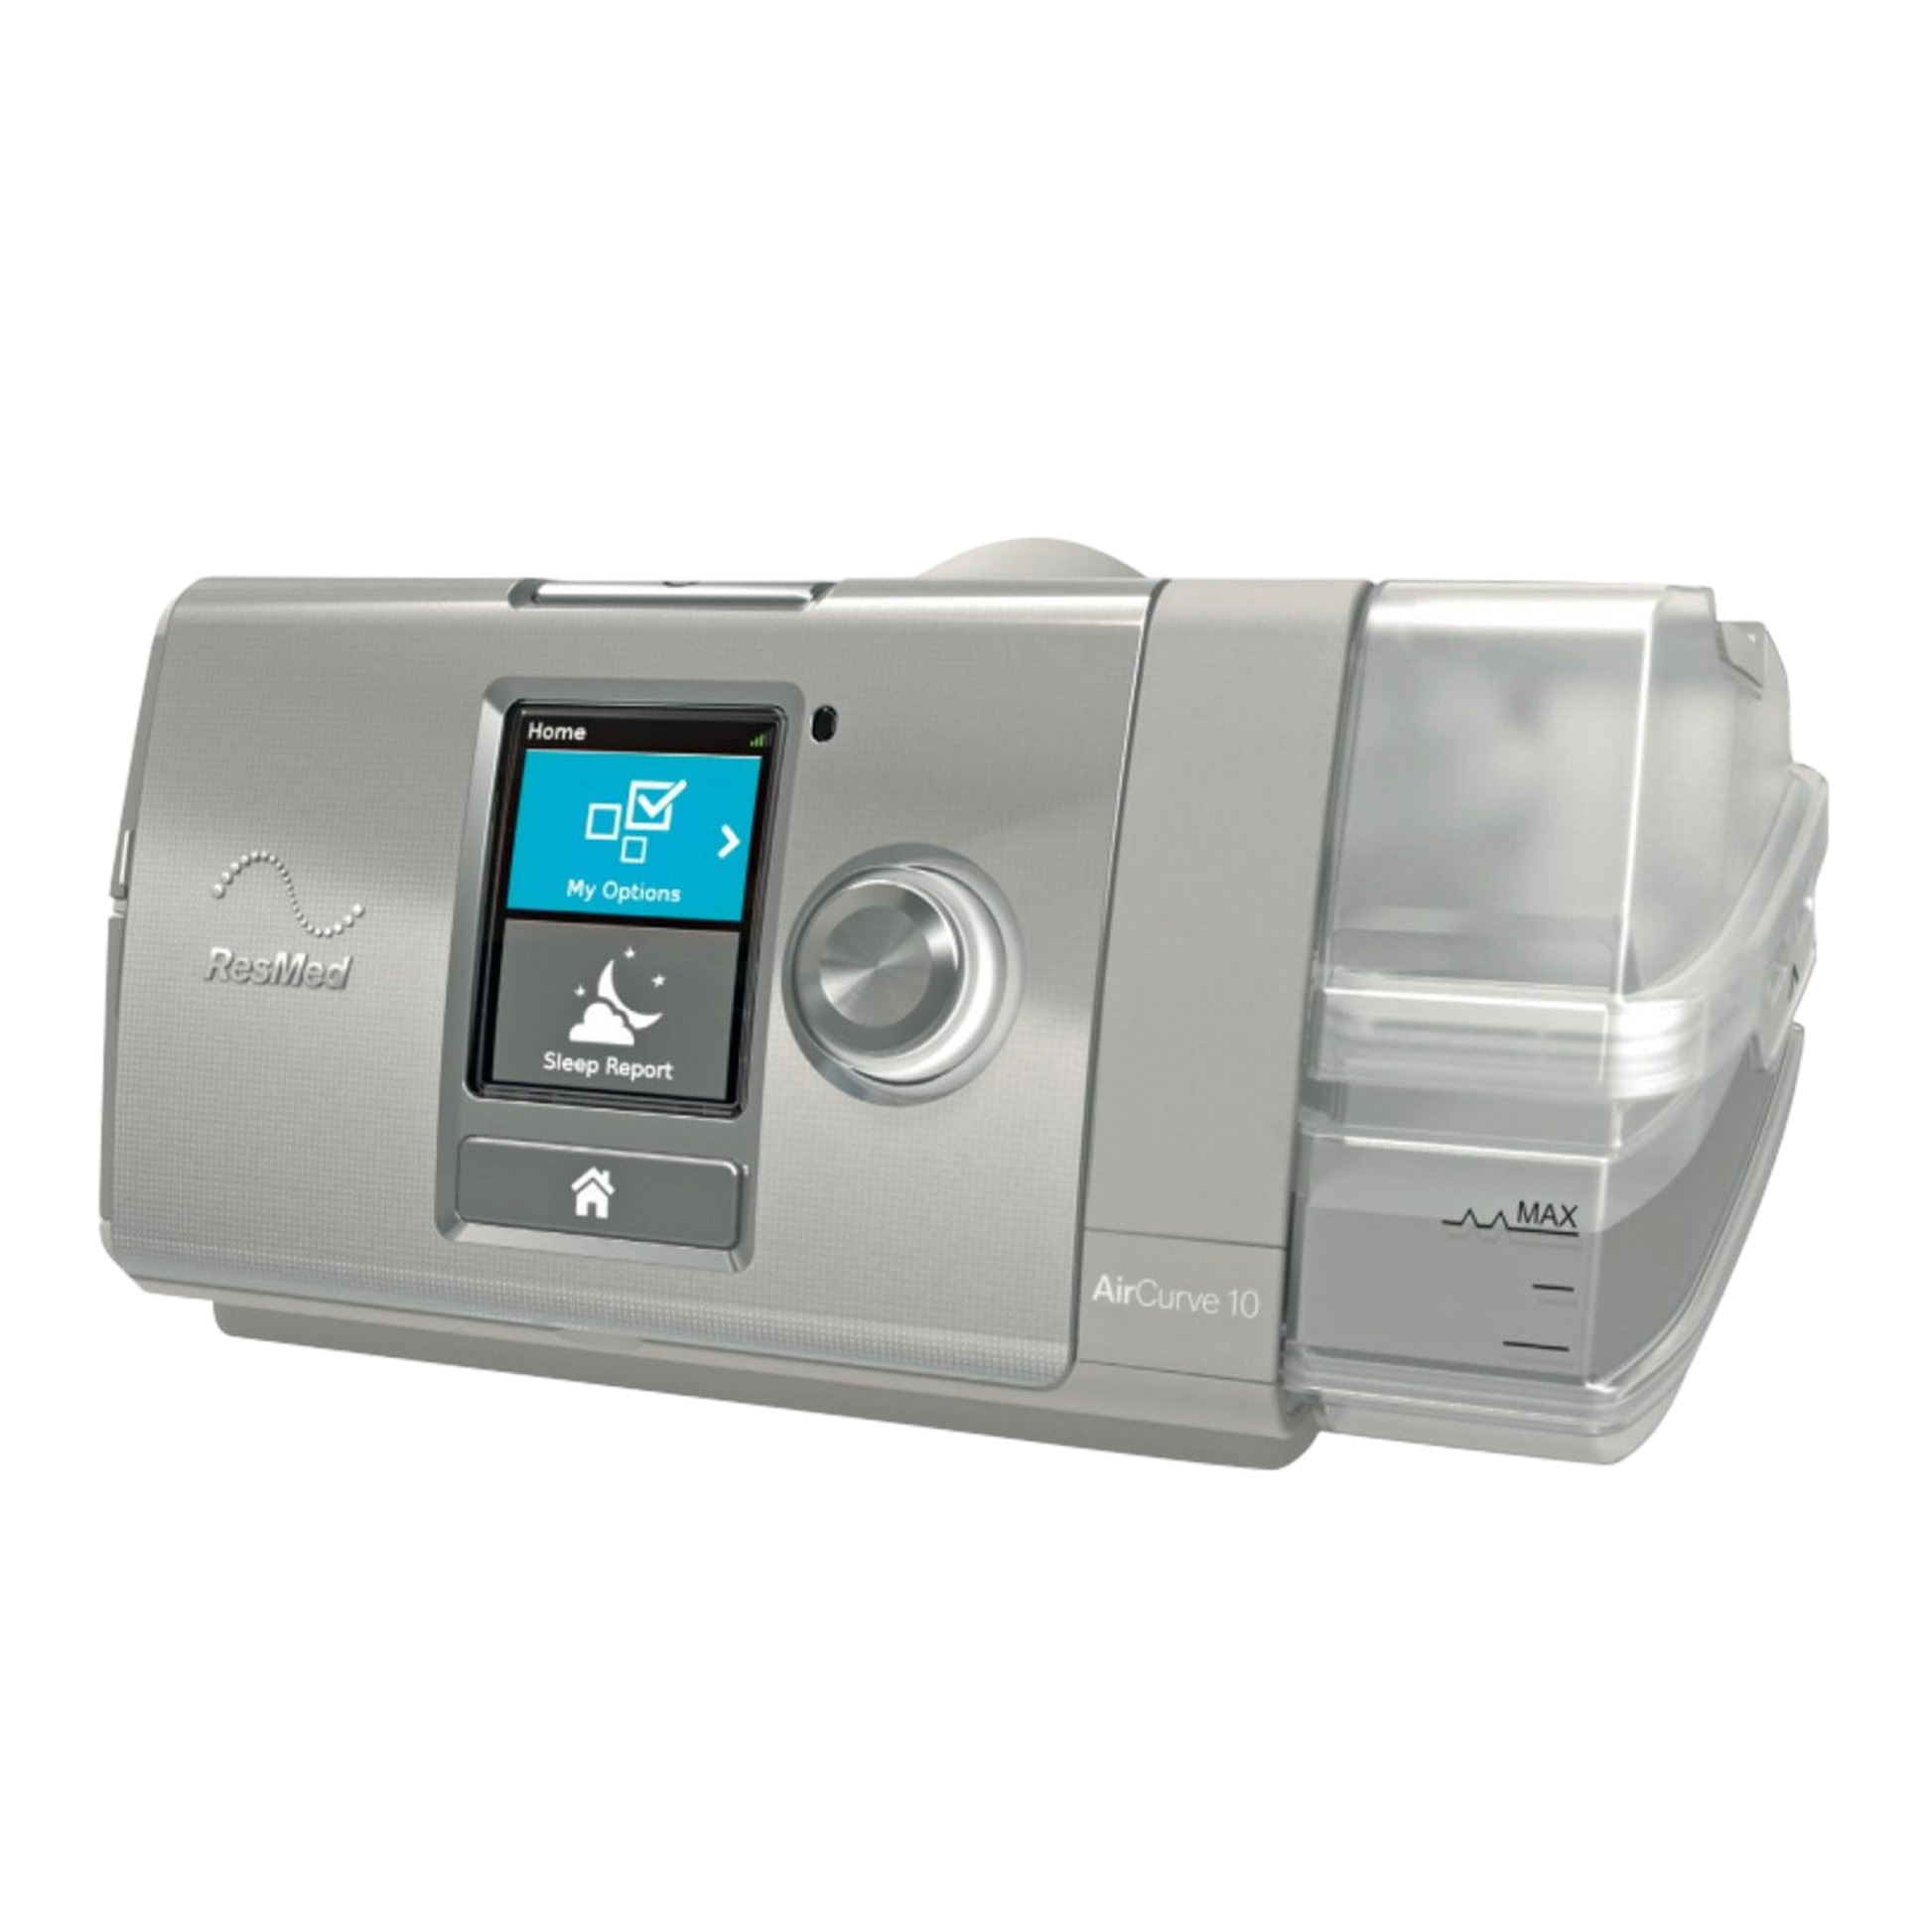
BiPAP/BiLevel Machines
Advanced machines that deliver dual pressure for personalized comfort.

Machine Bundles
Everything you need for better sleep in one simple bundle.

Last Chance Clearance
Your favorite masks, replacement parts, and sleep accessories at deeply discounted prices while supplies last