AutoRamp™ Tips
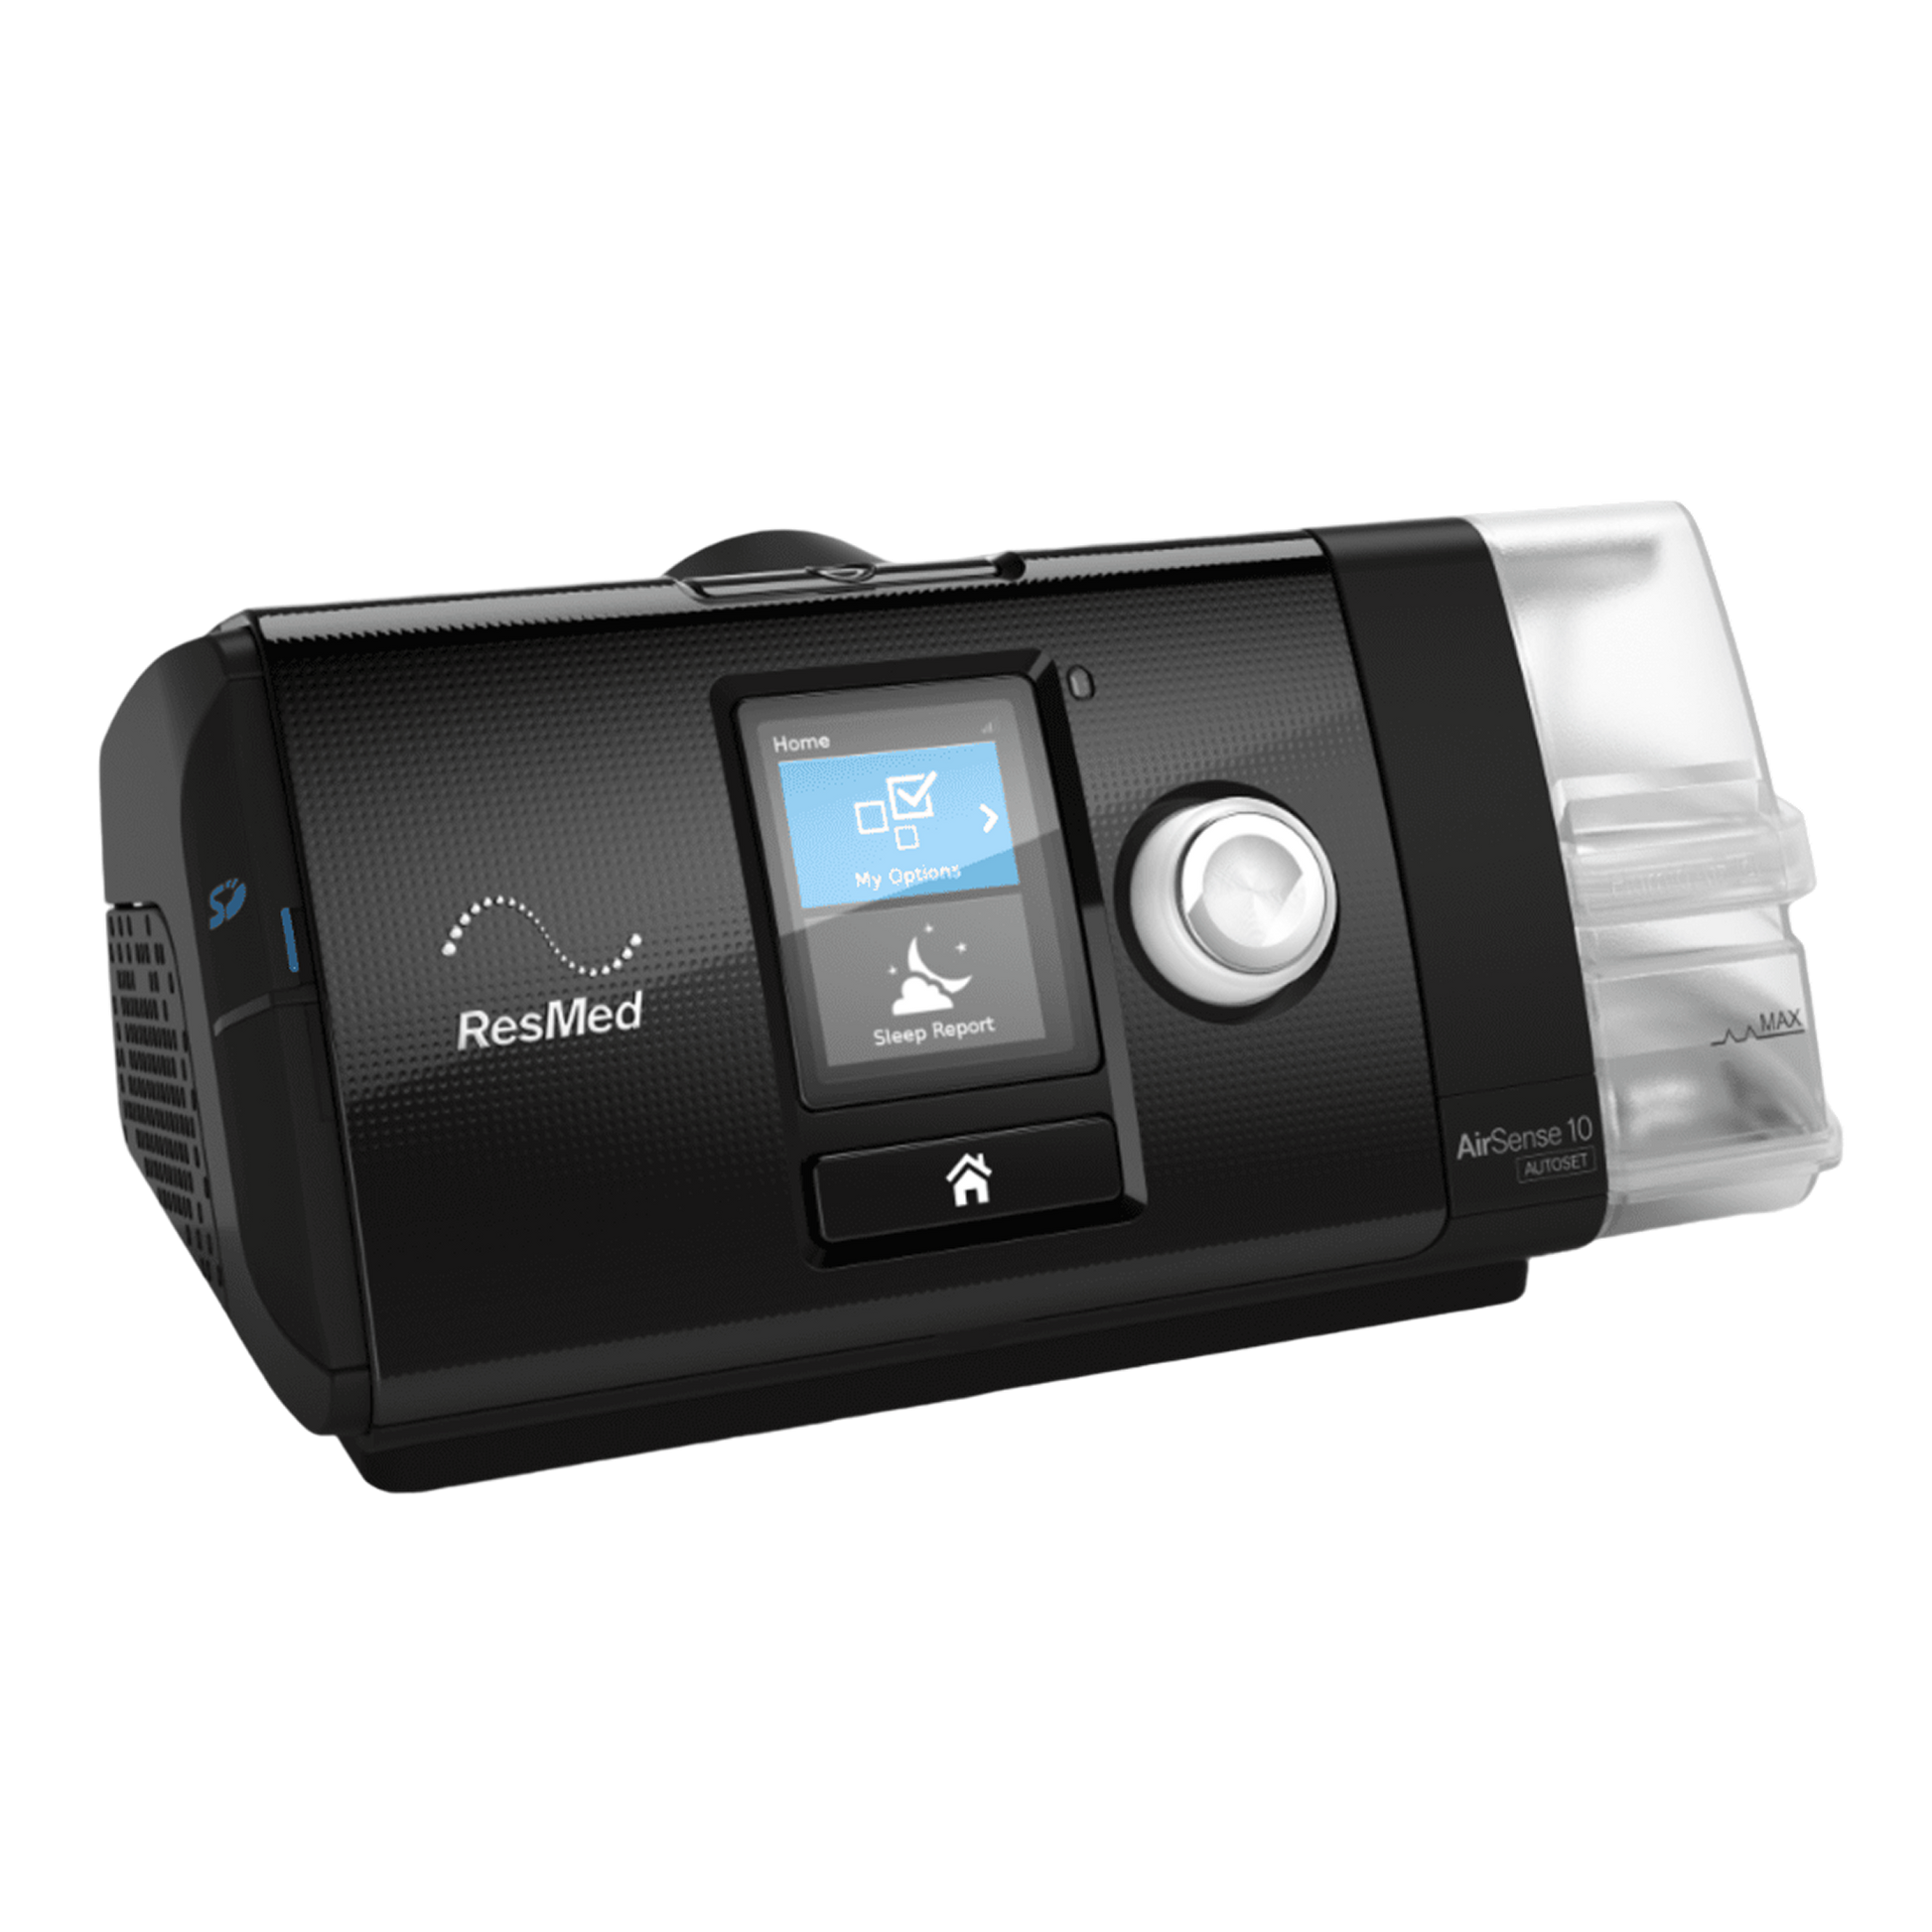
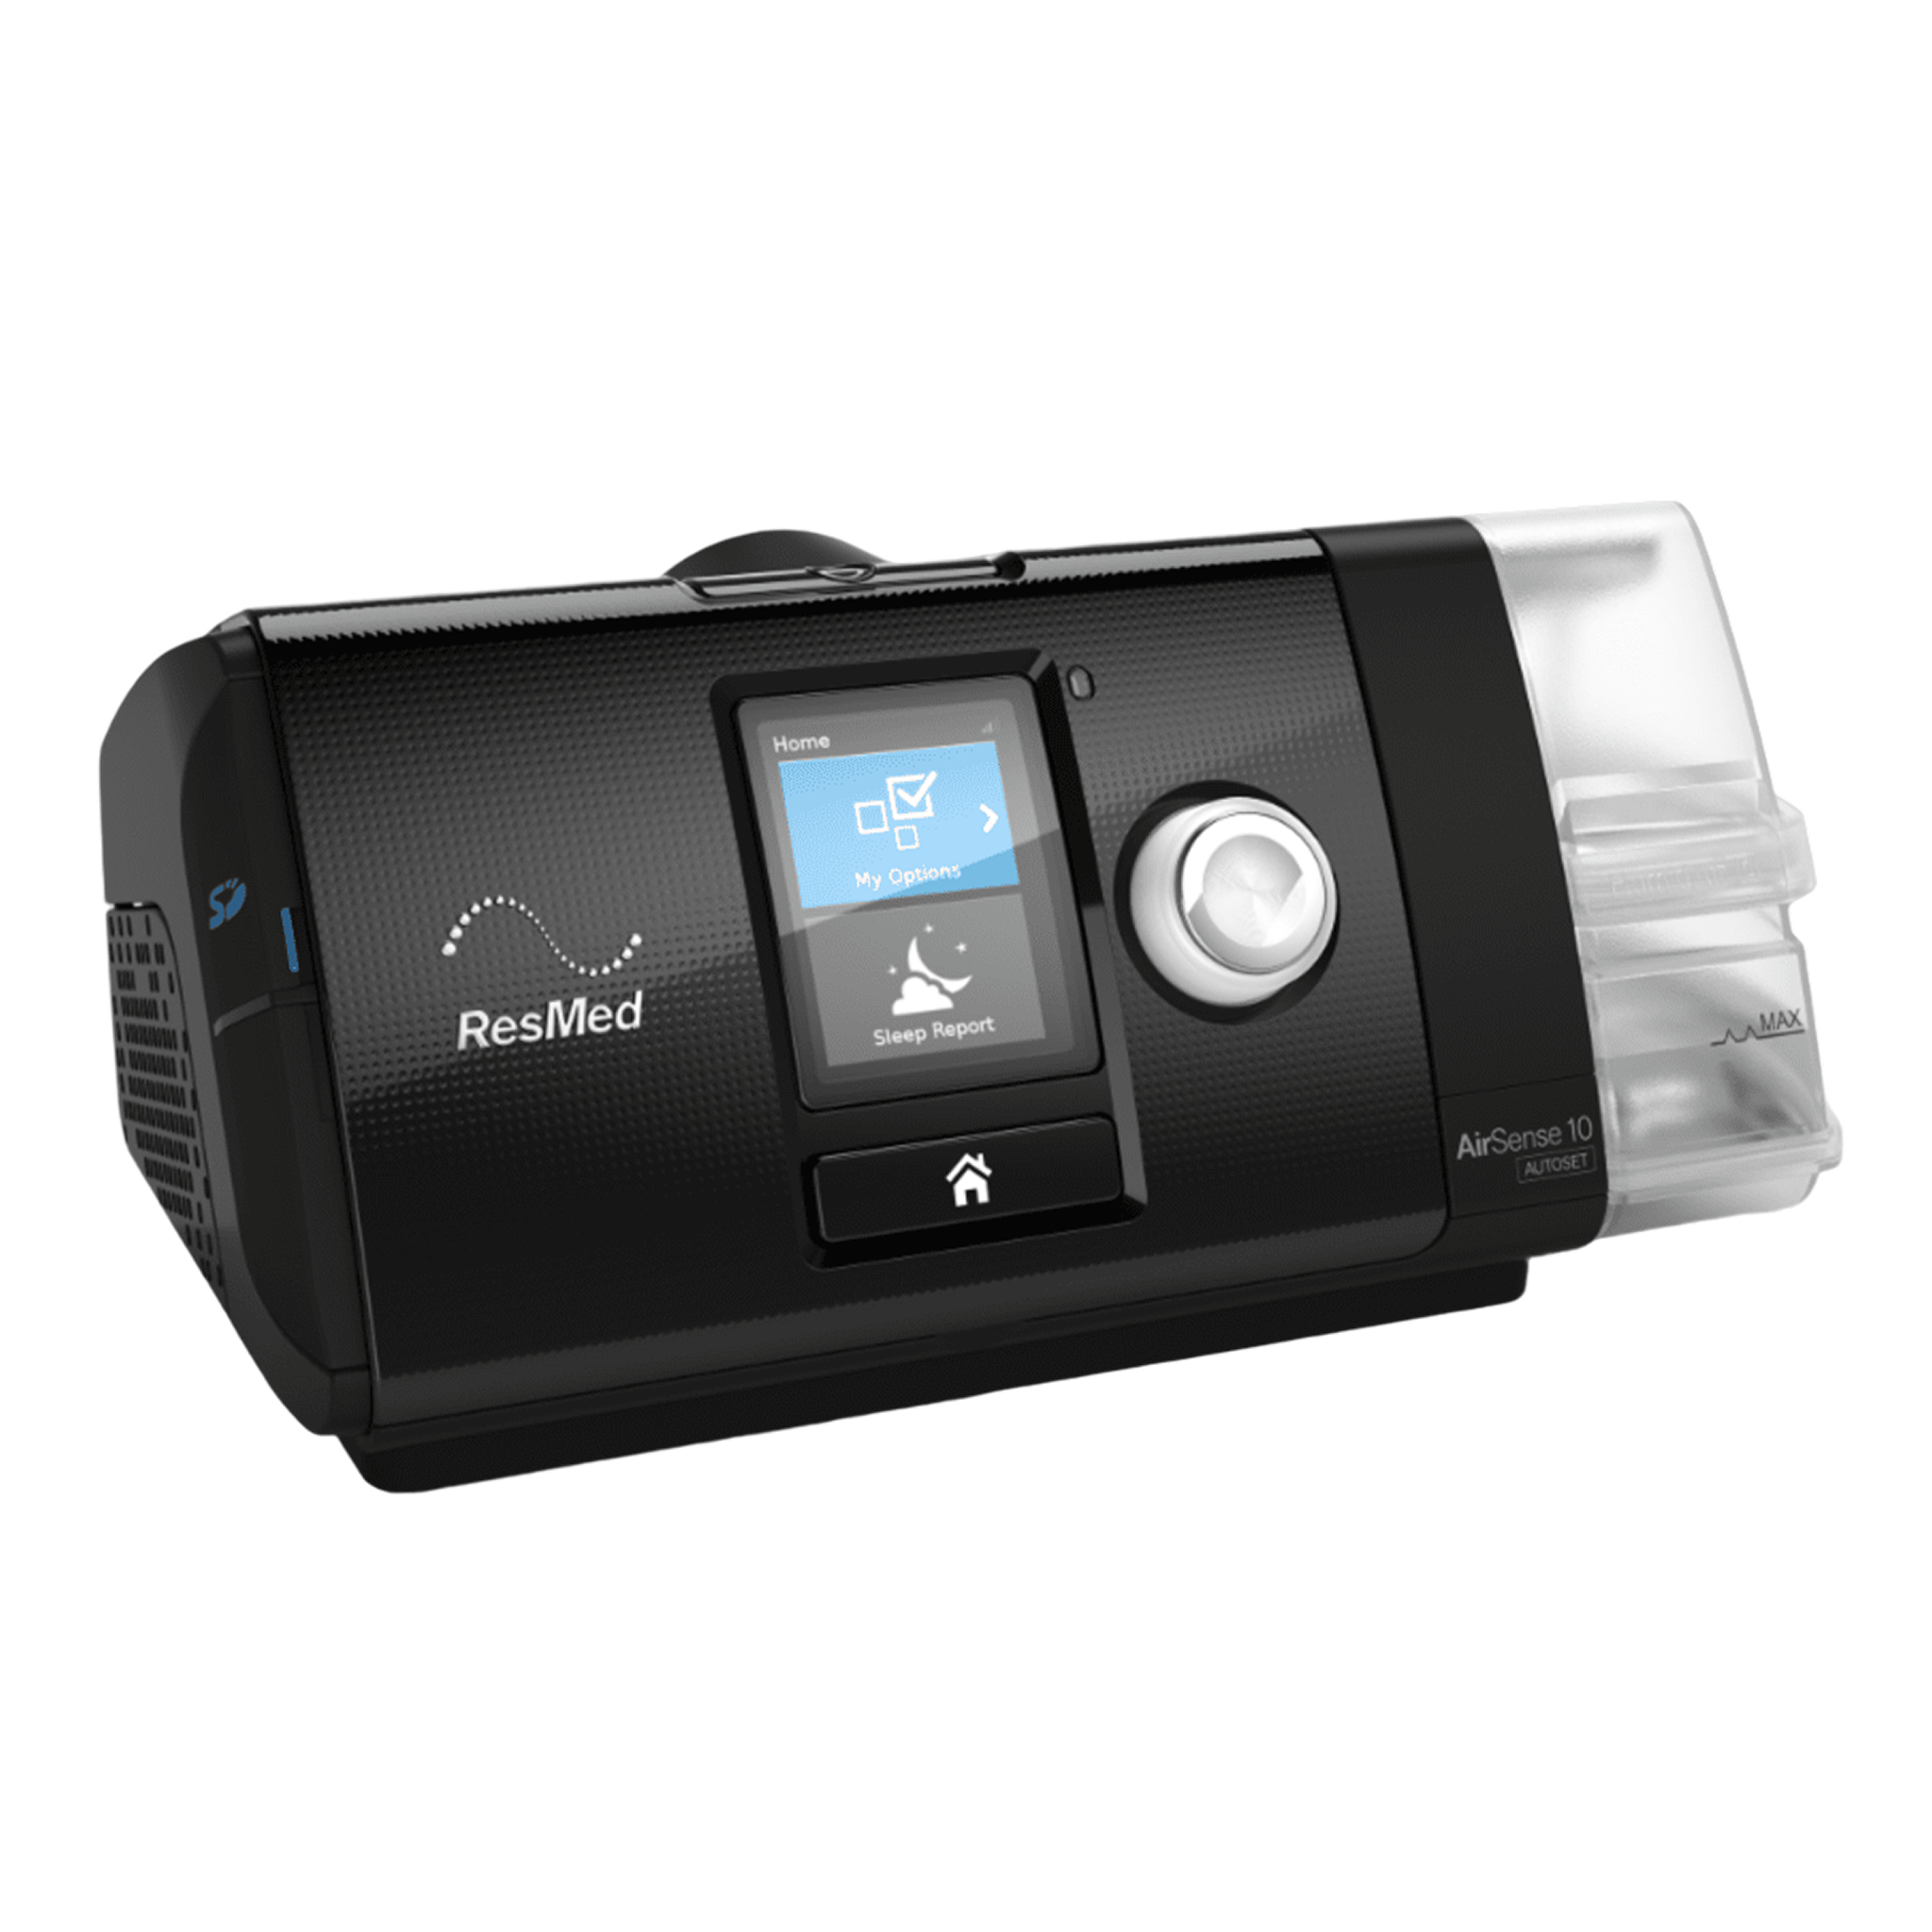
The AirSense™ 10 CPAP machines feature AutoRamp™ technology. Unlike traditional ramp features that will slowly ramp up pressure over a set amount of time, AutoRamp™ will stay at the set starting pressure until it senses the user is asleep. The default starting pressure is 4 cm H2O. Once the user is asleep, it will then start ramping 1 cm H2O per minute until it reaches the full prescribed pressure. AutoRamp™ will always reach the full prescribed pressure within 30 minutes, so even if not asleep, the machine will start to ramp in 1 cm H2O increments every minute to reach the full prescribed pressure at the 30-minute mark. Additionally, the AirSense 10 CPAP machine can be set to a traditional ramp if needed or turned off altogether.
SmartStart™ Tips
Per the manufacturer, the SmartStart™ technology may not function as intended when used with a nasal pillow mask and a pressure setting of 7 cm H2O or less. If the feature does not appear to be functioning, this comfort feature can be turned off. Please refer to the User Guide for more information.
Viewing Therapy Data Without MyAir
The Essentials Plus data view has been enabled for AirSense 10 Card-to-Cloud machines, which allows you to view more detailed information about your therapy when accessing the Sleep Report function from the main menu. This will enable you to opt for a virtual visit with your healthcare provider to relay your therapy data yourself. Alternatively, you may bring your SD card to your healthcare provider who will then download your data and upload it to ResMed’s AirView tracking software.
Features Summary for the AirSense 10 Line of Machines
- ResMed AirSense 10 CPAP Machine with HumidAir™ Heated Humidifier: Single pressure CPAP machine with included HumidAir Humidifier. Can be set only in CPAP mode and CPAP mode with EPR. Compliance sleep data along with AHI. Only available in black.
- AirSense 10 Elite CPAP Machine with HumidAir™ Heated Humidifier: Single pressure CPAP machine with included HumidAir Humidifier. Can be set only in CPAP mode and CPAP mode with EPR. Compliance sleep data plus advanced data on the screen. Only available in black.
- AirSense 10 AutoSet CPAP Machine with HumidAir™ Heated Humidifier: Auto-adjusting CPAP machine with standard AutoSet algorithm with included HumidAir Humidifier. Can be set in Auto mode with standard AutoSet algorithm, Auto mode with standard AutoSet algorithm with EPR, CPAP mode, and CPAP mode with EPR. Only the standard AutoSet algorithm is available on this machine. Compliance sleep data plus advanced data on the screen. Only available in black.
- AirSense 10 AutoSet for Her CPAP Machine with HumidAir™ Heated Humidifier: Auto-adjusting CPAP machine with standard AutoSet algorithm with included HumidAir Humidifier. Can be set in AutoSet For Her algorithm OR standard AutoSet algorithm, Auto mode, Auto mode with EPR, CPAP mode, and CPAP mode with EPR. Compliance sleep data plus advanced data on the screen. Only available in white.
For a detailed chart outlining the differences between machines in the AirSense 10 series, please click here.
Replacement Schedule
- Hose: Replace Every 6 to 12 Months
- Fine Filter: Replace Every Month
- Humidifier Water Chamber: Replace Every 6 to 12 Months
Using Your New AirSense 10 for the First Time
When your AirSense 10 first arrives, there is no need to set the therapy pressure, as this was done before we shipped it to you. As you unpack the box, you'll find the hose, humidifier chamber, power supply, cord, and the AirSense 10 along with a few other accessories.
To prepare your AirSense 10 for the first use, you'll need to follow these instructions.
- Connect the hose to the machine and your mask, ensuring the connections are tight on both. If using the included SlimLine hose, you should connect the hose elbow (a part that connects the end of your hose to the back of your machine at a 90-degree angle). If you've opted for the heated tubing option, connect the end with the electrical connection to the machine, and the other end to your mask.
- Connect the power supply to the power cord and plug it into the appropriate wall outlet, then plug the cord into your machine. Your machine should now be powered on and therapy can begin by pushing the button on top.
How to Clean a CPAP Hose
- Run a mixture of mild soap and water through your hose.
- Use a tube brush to scrub inside the hose to remove any debris or bacteria that may have accumulated.
- Rinse with clean water until all suds have been removed.
- Hang the hose over a towel rack to drip dry.
How to Replace the Fine Filter
- Locate the filter assembly towards the bottom of the machine on the left-hand side panel.
- Open the filter assembly by pulling the door towards you.
- Replace the filter, and close the door.
How to Clean a Humidifier Chamber
Your new AirSense 10 AutoSet ships with a Standard Humidifier Chamber. The Standard Humidifier Chamber is not dishwasher safe. For a dishwasher-safe option, choose the Dishwasher-Safe Humidifier Chamber.
If you have the Standard Humidifier Chamber and need to clean it, you'll follow these instructions:
- Open the humidifier chamber and empty any remaining water.
- If any hard chalky deposits have formed at the bottom of the tank, we recommend scrubbing the area with vinegar to break up the deposits.
- Rinse with drinking water and set aside to air dry.
How to Determine if the Water Chamber is Dishwasher Safe?
AirSense™ 10 and AirCurve™ 10 machines denote the water chamber model with an "S" or "C" label. Look directly above the maximum fill line located on the side of the chamber to find the word HumidAir™ and the corresponding letter embossed into the tank.
- If the water chamber is dishwasher safe, the chamber will appear as HumidAir C, which represents a cleanable tank.
- If the water chamber is the standard model, the chamber will appear as HumidAir S, which represents a standard tank.
Humidifier Tips
Don't fill the water chamber past the max fill line as this could result in water entering and damaging your machine. Allow the water chamber to cool for ten minutes after use before handling as it could be too hot to the touch. The machine will display a blue snowflake in the upper right of the screen while cooling is taking place.
If the integrated heated humidifier is not being used, purchase the Side Cover for AirSense™ 10, AirStart™ 10, and AirCurve™ 10 Machines separately in order to enclose the machine opening. The side cover is not needed to operate the machine.
Hose Tips
Either a 15mm (Slim) hose or a 22mm (Standard) hose may be used with the AirSense™ 10 line of machines. The machine must be changed to the proper setting to ensure accurate therapy pressure. Also available is the optional ClimateLineAir™ heated hose which will instantly activate the Auto Climate Control feature when connected to the machine.
A SlimLine™ hose is included with the purchase of the AirSense™ 10 AutoSet CPAP machine. The hose is found in the interior, zipped compartment of the travel bag. The zippered nook is located at the point where the cover meets the bottom of the travel bag at the back of the machine compartments.
Tube Brush Compatibility
The CPAP Tube Brush Second Gen is not compatible with the following hoses:
- ClimateLineAir™ Heated Tube for AirSense™ 10 and AirCurve™ 10 Machines
- ClimateLineAir™ Oxy Heated Tube for AirSense™ 10 and AirCurve™ 10 Machines
While the tube brush can certainly be used to clean the hose, it's not able to make the 90-degree turn at the machine connection end and will be unable to clean the entire hose. The tube brush is fully compatible with all other models.